How to Crochet Amigurumi: The Complete Beginner's Guide
Learn amigurumi with dense stitches, invisible decreases, safe face options, shaping checkpoints, stuffing advice, and a simple first project.

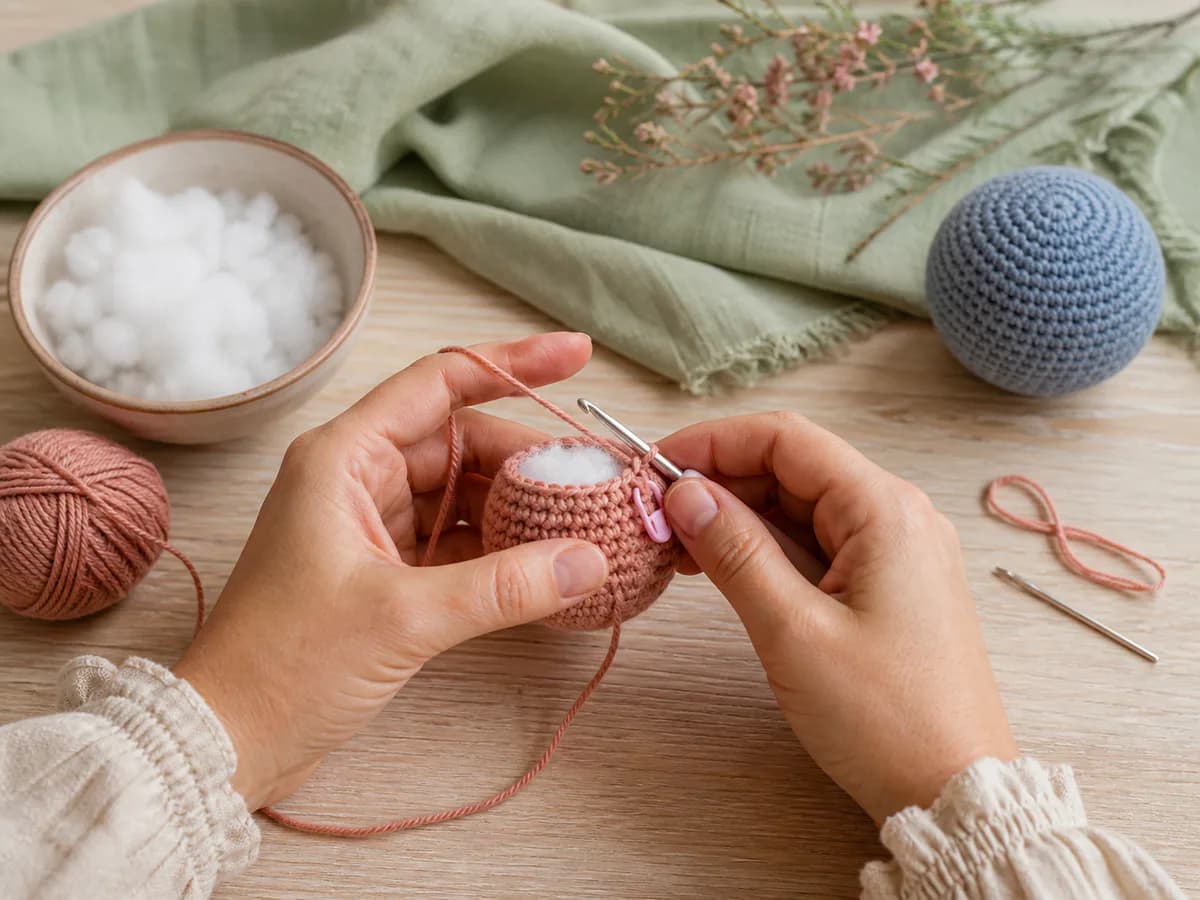
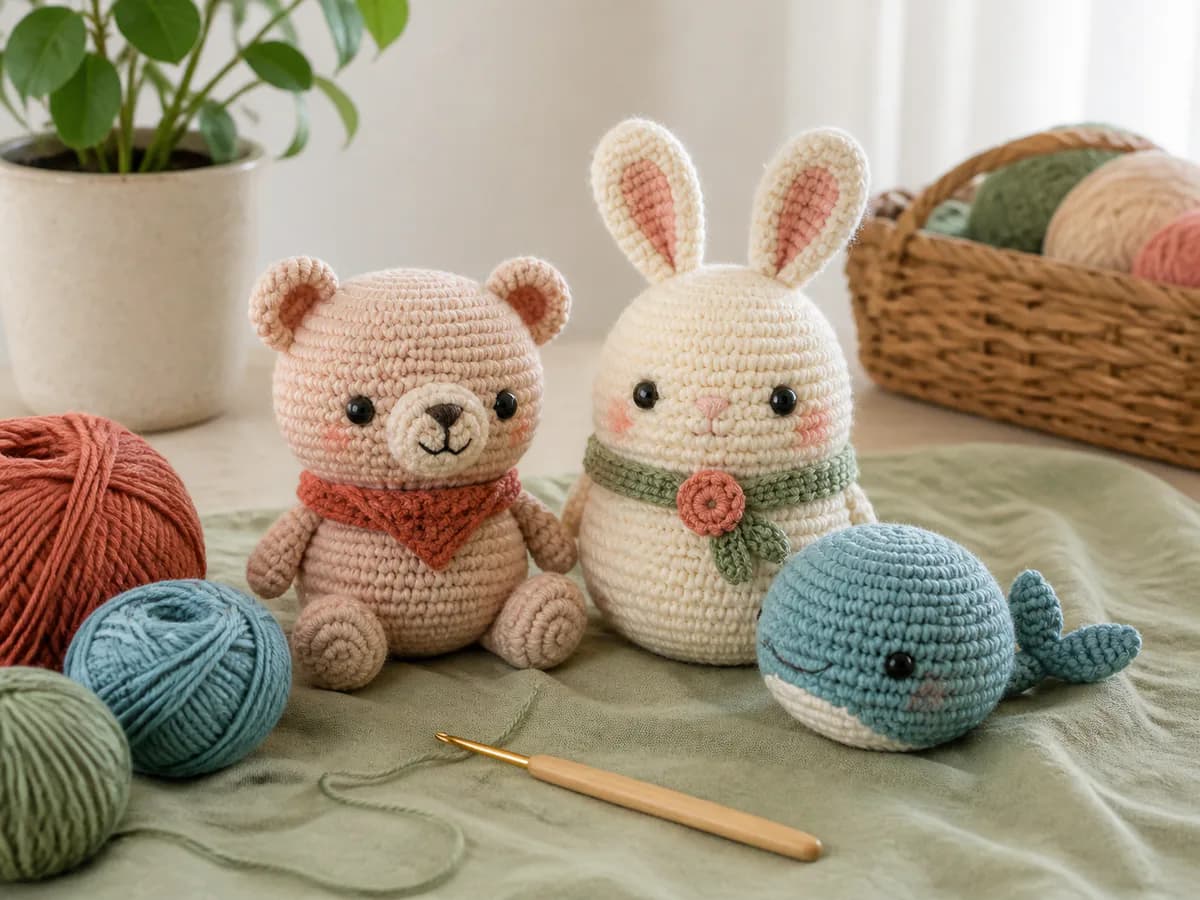
Amigurumi is crochet shaped into stuffed figures, usually with single crochet worked in a continuous spiral. The technique is approachable once you can identify the first stitch of a round and keep a reliable count. Dense fabric, gradual shaping, careful stuffing, and secure assembly matter more than speed.
Quick answer: Use smooth cotton or acrylic with a hook about 1 to 2 mm smaller than its label suggestion. Mark every round, count after each increase or decrease round, and add stuffing in small pieces.
Amigurumi supplies that make learning easier
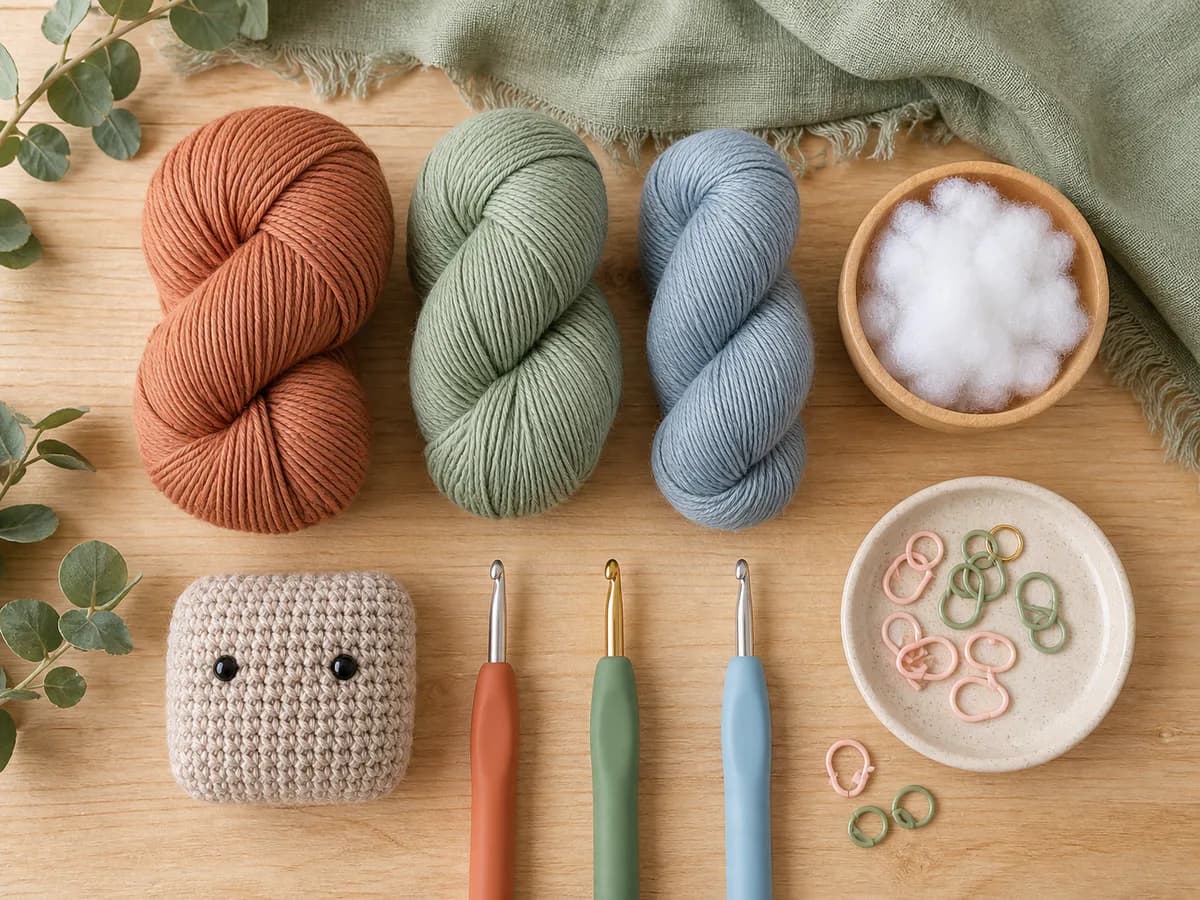
- DK or worsted cotton or acrylic yarn in a light color
- 2.75 to 3.5 mm hook, chosen to prevent visible stuffing gaps
- Locking stitch marker and row counter
- Washable polyester stuffing
- Blunt yarn needle, scissors, and embroidery floss
For a display figure, safety eyes may be convenient. For a toy intended for a child under three, use securely embroidered features instead and inspect all seams regularly. The baby toy safety guide explains the extra decisions involved.
Essential abbreviations
This guide uses US terms: sc (single crochet), inc (two single crochet in one stitch), dec (single-crochet decrease), st (stitch), and rep (repeat). A number in parentheses is the stitch total after the round.
The five amigurumi skills to practice
1. Start a six-stitch center
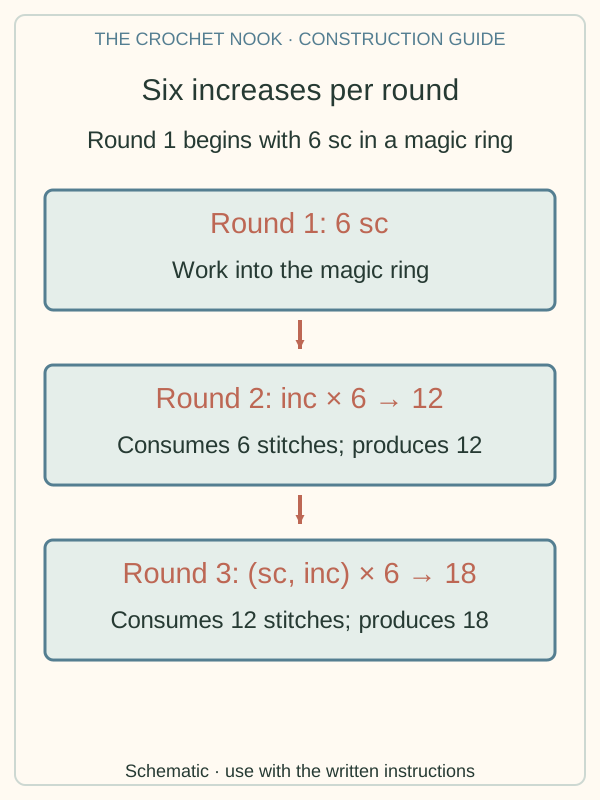
A magic ring makes an adjustable center. Wrap yarn into a loop, insert the hook, pull up a loop, chain 1, and work 6 single crochet into the ring. Pull the yarn tail to close the opening. If the ring feels frustrating, chain 2 and place 6 single crochet in the second chain from the hook.
2. Work in a continuous spiral
Do not join at the end of each round unless the pattern says to. Place a marker in the first stitch, finish the round, then move the marker into the first stitch of the new round. The small step between rounds is normal.
3. Build an even sphere
Begin with 6 stitches. Increase by 6 stitches per round: 12, 18, 24, and so on. Work several even rounds, then decrease at the same rate. Stagger increases and decreases between rounds so they do not stack into visible corners.
4. Make an invisible decrease
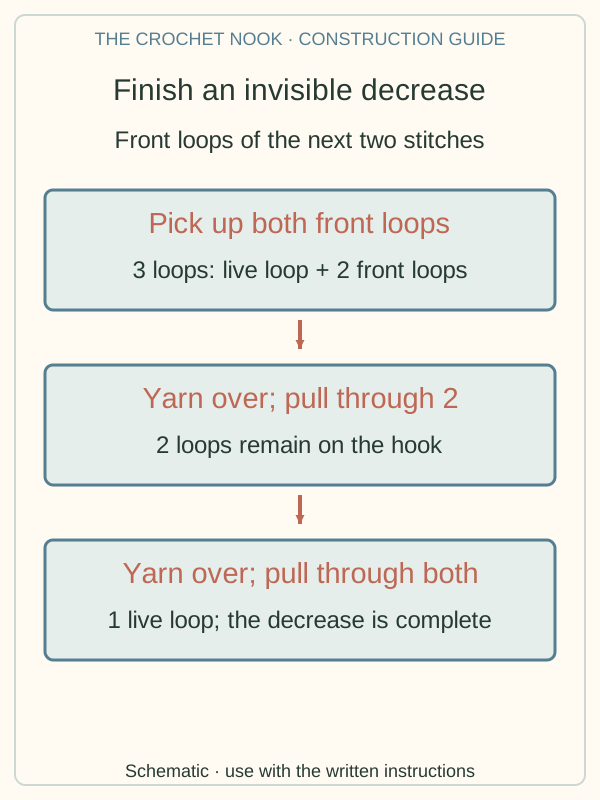
Insert the hook through the front loop of each of the next two stitches, yarn over, and pull through both front loops. Yarn over and pull through the two loops on the hook. Using only the front loops reduces the gap left by a standard decrease.
5. Stuff in layers
Add small tufts before the opening becomes too narrow. Press stuffing toward the outer wall while keeping the center resilient. Overstuffing stretches the stitches and exposes filling; understuffing leaves dents and weakens the silhouette.
A simple first amigurumi body
- Round 1: 6 sc in a magic ring. (6)
- Round 2: Inc in every stitch. (12)
- Round 3: (Sc, inc) 6 times. (18)
- Round 4: (2 sc, inc) 6 times. (24)
- Rounds 5-9: Sc around. (24)
- Round 10: (2 sc, invisible dec) 6 times. (18)
- Round 11: (Sc, invisible dec) 6 times. (12)
- Stuff firmly but not hard.
- Round 12: Invisible dec 6 times. (6)
- Fasten off and use the tail to close the remaining opening.
Turn this base into a small character by embroidering a face and adding ears or a bow from the kawaii face and bow tutorial.
For a next project that uses the same spiral-count skills, try the three crochet fruit patterns: the whole apple practices decreases, while the kiwi and orange halves add matching-edge seams and simple embroidery.
Tips & troubleshooting
Stuffing shows between stitches
Change to a smaller hook while keeping your grip relaxed. If the fabric becomes rigid, choose a smoother, slightly thicker yarn rather than tightening every stitch.
The sphere looks hexagonal
Shift the starting point of each increase round by one or two stitches. The total stays the same, but the increases no longer form six vertical lines.
Sewn parts twist out of position
Pin every part first. Count rounds from the center and stitches from the marker so paired pieces share coordinates. Sew through a full stitch, not one strand of yarn.
Frequently Asked Questions
Can I use blanket yarn for amigurumi?
Yes, but it produces a much larger figure and can hide stitches. Practice the construction in smooth yarn before moving to chenille or plush yarn.
Why is my finished figure a different size?
Yarn thickness, hook size, tension, and stuffing all change scale. For matching pairs, use the same yarn lot, hook, and round counts, then weigh the stuffing if necessary.
Related guides
Compare beginner amigurumi ideas, choose amigurumi yarn and hooks, or improve faces and joint placement.
Essential crochet guides
Maker notes
Questions or finished-project notes?
Share what helped, ask about a step, or leave a thoughtful note for the next maker.
Loading maker notes...