12 Beginner Amigurumi Project Ideas
Explore 12 free amigurumi patterns for beginners with designer links, yarn notes, a project comparison table, and help choosing your first make.

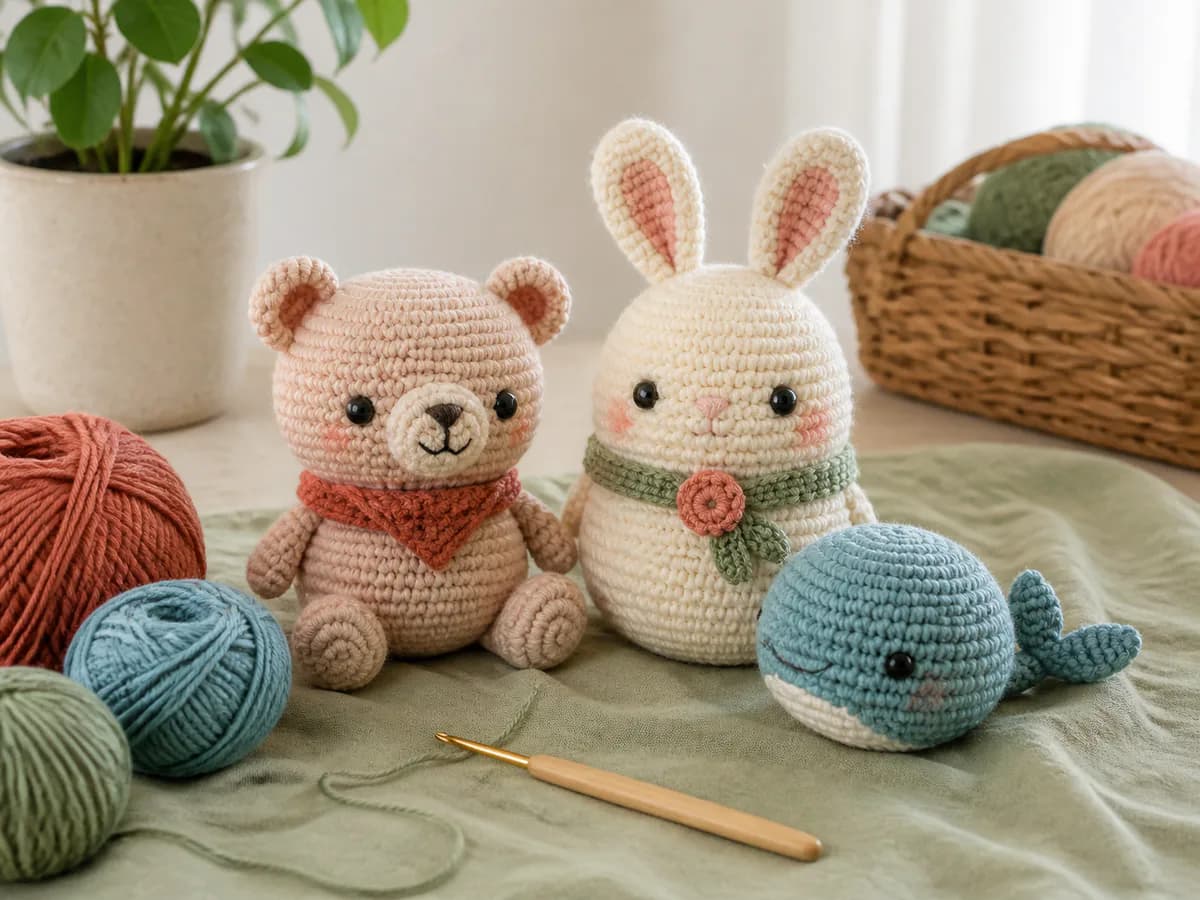
A good first amigurumi project teaches you something manageable and gives you instructions you can follow all the way to the finish. These 12 beginner amigurumi project ideas have free written pattern links, with notes on the skills, yarn choices, and finishing work that separate a simple shape from a fiddly little make.
Start with a project whose stitches you already recognize, then add one new technique. This is a selection guide, not twelve patterns written on this page: open the credited designer's link for the complete instructions and exact finished design. The collection image is inspiration rather than a sample of every linked pattern.
We checked the linked free web instructions on September 27, 2026. Some designers also sell optional printable PDFs. Our notes come from reading their construction and materials; we have not physically crocheted all twelve projects.
Choose your first amigurumi project
The choices below are our learning suggestions, not a replacement for each designer's difficulty rating. None requires you to buy a PDF to access the linked written web pattern at the review date.
| Project | Skill to practise | Finishing or tricky part |
|---|---|---|
| 1. Chick | Rounded body and loop awareness | Wings use front loops; beak needs embroidery |
| 2. Whale | Spiral rounds and a color change | Fins and tail use reserved loops |
| 3. Bee | Stripes and separate details | Wings and antennae need attaching |
| 4. Bear | Bobble features | Finding stitches in plush yarn |
| 5. Frog | Bobbles and face placement | Symmetrical eyes; optional separate cheeks |
| 6. Cat | Popcorn feet and shaped ears | Several special stitches and an added tail |
| 7. Mushroom | Matching two edges | Cap and body are crocheted together |
| 8. Mini bunny | Crocheting parts into a body | Tiny ears, feet, and tail |
| 9. Turtle | Positioning crochet-in parts | Left/right flipper orientation |
| 10. Star | Joining and shaping points | Picking up stitches across two centers |
| 11. Snuggle Bunny | Joined legs and larger construction | Prepare attachments and choose an ear version |
| 12. Elephant | Shaping and sewn assembly | Paired ears and positioning separate pieces |
Not sure where to start? If you already know single crochet, increases, and decreases, compare the chick and whale and read their loop-specific sections before choosing. If you learn best from video and are happy to sew small pieces, the bee has a full video alongside the written pattern. If you are learning your very first stitches, try the practice project in our complete beginner amigurumi guide first.
12 projects with free designer patterns
1. Round chick: practise a small stuffed shape
Read the free No-Sew Chick pattern by Stitch by Fay. Its rounded body introduces increases and decreases, while the wings use front loops and leave back loops for the following round. The listed version uses DK chenille and a 3 mm hook, so consider whether you can see stitches clearly in that texture before choosing it. Read the wing sequence before starting, and leave time to embroider the beak and finish the yarn ends.
2. Pocket whale: learn loop placement and color changes
Read the free No-Sew Whale pattern by Stitch by Fay. This whale starts with a magic ring, not an oval foundation chain, and its fins and tail are formed during the crochet rather than sewn on later. The designer uses DK cotton with a 2.5 mm hook and changes color for the underside. It is a useful next step if you can track spiral rounds, but pause at the fin-and-tail round to identify the loops needed afterward.
3. Striped bee: add one color at a time
Read Buzzy the Bee by Mariska Vos-Bolman at DIY Fluffies. The free instructions and video cover a striped body with separate wings and antennae, so this is an option for practising both color changes and sewing. Choose one materials version: the small sport-cotton bee uses a 2.5 mm hook, while the chenille example is larger. Check the stripe sequence before each round and position both wings together before securing either one.
4. Tiny bear: try bobble ears and limbs
Read the free No-Sew Bear pattern by Stitch by Fay. Bobble stitches form the ears, arms, and legs within a top-down body, avoiding separate limb assembly. The listed super bulky plush version uses a 4.5 mm hook; its small finished size does not make the fuzzy stitches easier to identify. Practise the designer's bobble on spare yarn first, then keep the first-stitch marker in place as the features appear.
5. Round frog: practise balanced facial details
Read the free No-Sew Frog pattern by Stitch by Fay. Like the bear, this version uses bobbles and super bulky yarn with a 4.5 mm hook, making it a natural follow-up if that construction suited you. Eye placement relative to the raised bumps matters more than adding lots of facial decoration. The pink cheeks are optional separate pieces, so read their finishing instructions if you decide to include them.
6. Little cat: move beyond single crochet
Read the free No-Sew Cat pattern by Stitch by Fay. Its ears are shaped as you work, popcorn stitches form the feet, and the tail is added at the end. The listed DK chenille version uses a 3 mm hook, with several taller stitches as well as single crochet. Choose this after you can recognize the tops of stitches, and follow the pattern's special-stitch definitions rather than assuming every designer uses the same popcorn method.
7. Mushroom buddy: join a cap to a body
Read the free Mushroom Buddy pattern by Stitch by Fay. The body expands into an edge that matches the separate cap, and the two are crocheted together; this is not a cap simply balanced on a narrow stem. The source uses DK cotton and a 2.5 mm hook. Count both joining edges before starting the join, and follow the stuffing sequence so you still have access when you need it.
8. Lucy mini bunny: attach pieces while crocheting
Read the free mini bunny pattern by Mariska Vos-Bolman at DIY Fluffies. Make the ears, feet, and tail before the body so they are ready to be worked into it at the indicated points. The sport-cotton version uses a 2.5 mm hook, and the designer also gives larger chenille options plus a video. This is a next-step project for a beginner comfortable handling tiny parts; no-sew assembly still leaves embroidery and ends to finish.
9. Mini turtle: keep left and right pieces aligned
Read the free No-Sew Turtle pattern by Stitch by Fay. The head and flippers are made separately and crocheted into the body, with DK cotton and a 2.5 mm hook in the listed version. The instructions distinguish how to begin joining the left and right flippers, which makes orientation the key learning point. Arrange the parts in their intended positions before the attachment round and compare each pair before carrying on.
10. Puffy star: shape points from two centers
Read the free Little Star Amigurumi pattern by Raffaella at Raffamusa Designs. Two round centers connect as you work the five points; this is not two complete flat stars sewn around their outlines. The designer lists sport, DK, and aran examples, including DK with a 2.75 mm hook. Facial details are optional, but the joining is more involved than the silhouette suggests: follow the step photos for where each point begins and close the small gaps as directed.
11. Snuggle Bunny: plan a larger no-sew project
Read the free Snuggle Bunny pattern by Nicole Chase. The legs connect into a continuous body and head, while prepared arms, ears, and tail are worked in along the way. Two ear constructions suit different yarn textures, so select a version and its full materials list before beginning. Save this for when you can follow several component instructions without losing track, and tick off the paired pieces as you finish them.
12. Elliot the Elephant: build confidence with assembly
Read the free Elliot the Elephant pattern by Nicole Chase. The trunk continues into the head, while other pieces need assembly, giving you a more involved shaping and sewing project after simpler animals. The source lists worsted yarn and a 4 mm hook. Compare the paired ears and limbs before attachment, and follow the designer's assembly photos rather than trying to reproduce the proportions of an unrelated inspiration image.
Materials and supplies: choose the pattern first
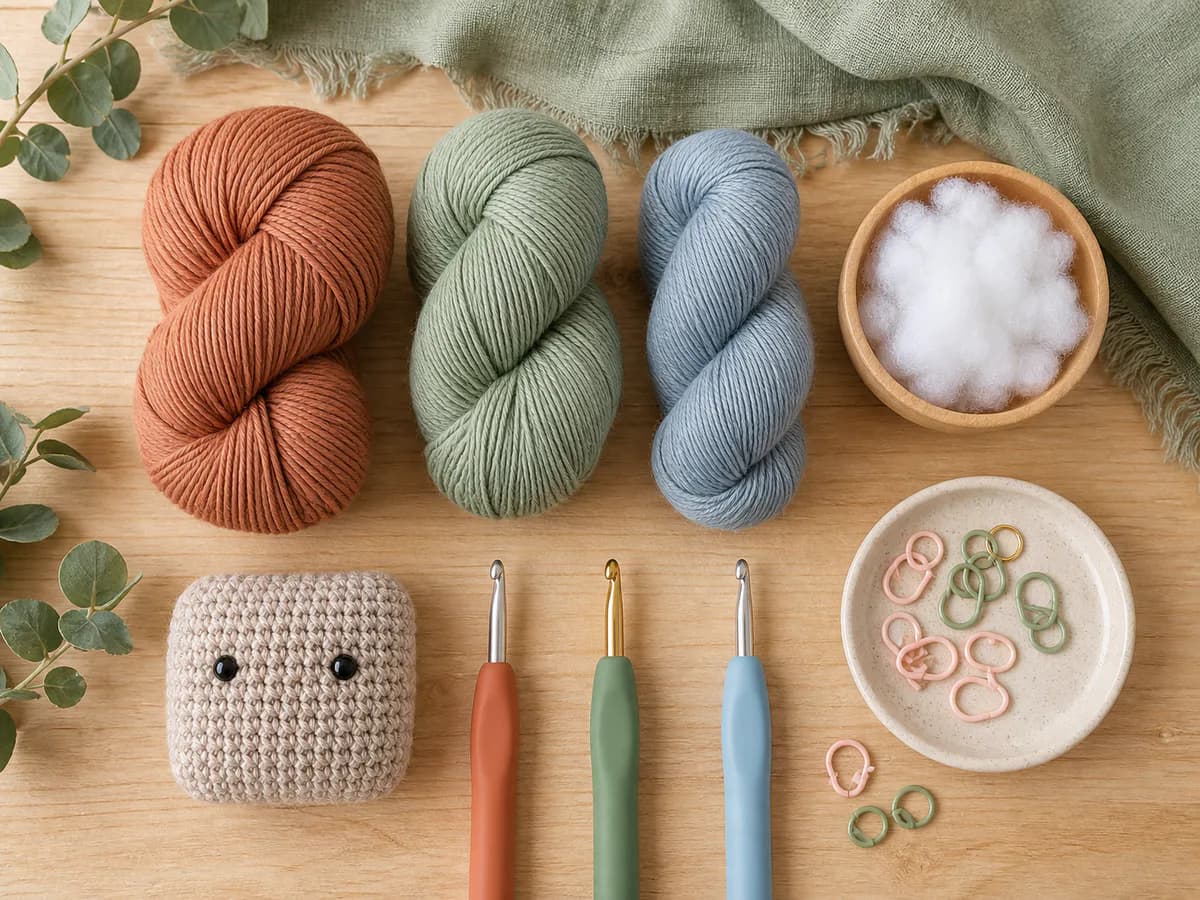
There is no single yarn, hook, size, or completion time for this collection. Read the selected designer's full list before buying supplies, including any contrasting colors, stuffing, markers, needle, and optional face materials. Keep paired parts in the same yarn weight and hook size unless the pattern specifically says otherwise.
Smooth, light-colored yarn helps you see the stitch tops when learning. Plush and chenille can hide them, even when the finished project looks simple. Changing yarn also changes the size, feel, and visibility of details; use the source's matching yarn-and-hook example as your starting point. Our amigurumi yarn and hook guide explains how to check for dense fabric without forcing painfully tight stitches.
For face embroidery, use our eyes, noses, and smiles tutorial. Embroidered eyes do not by themselves establish that a finished item is suitable for a baby: small parts, stuffing access, loose strands, and every attachment also matter. Treat these as project choices, not a collection of safety-certified toys.
Read the pattern before the first stitch
Check whether the instructions use US or UK terminology. These linked patterns use US terms, but their shorthand and special-stitch definitions can differ: read the abbreviation key on the actual pattern page. In particular, confirm how bobbles, popcorns, increases, and decreases are counted.
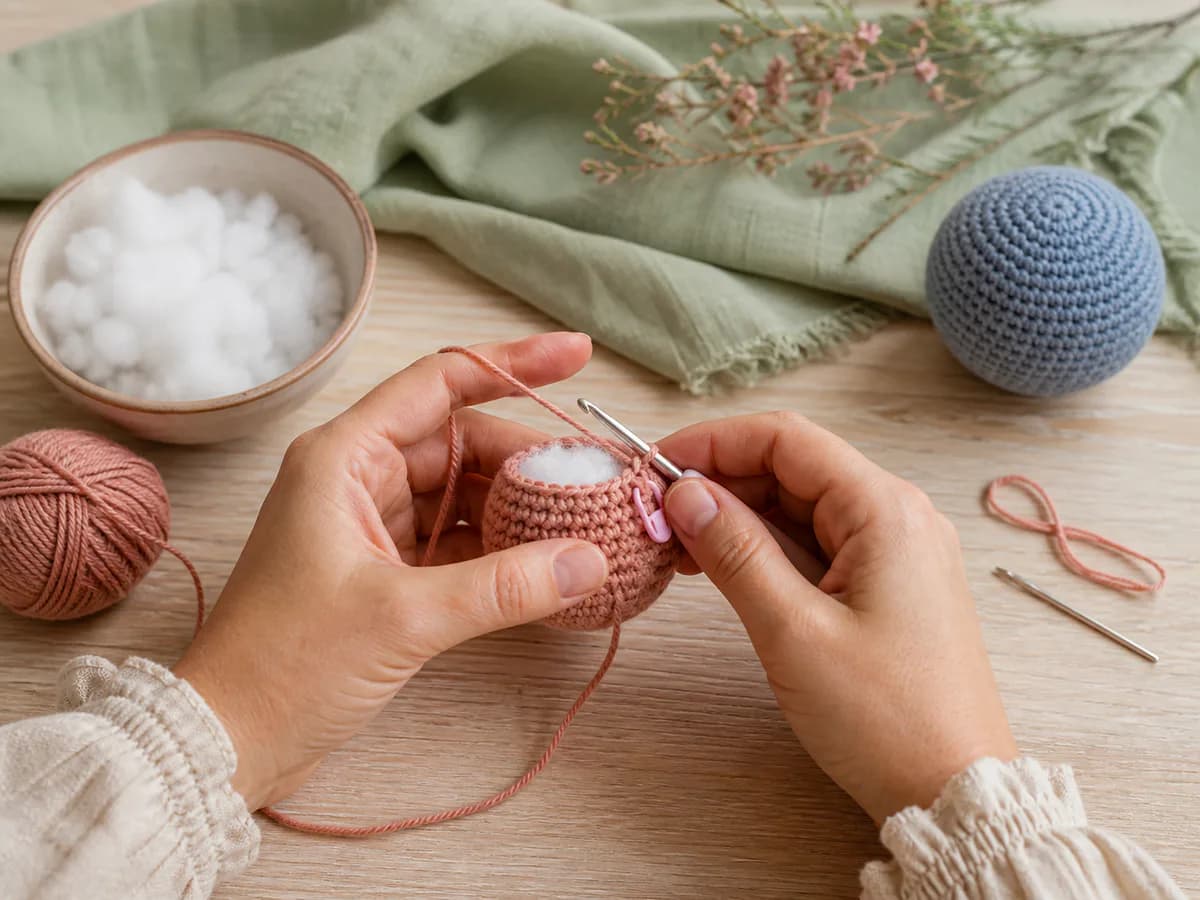
For spiral rounds, mark the first stitch and move the marker as each new round begins. Do not add a joining slip stitch or turning chain unless instructed. When an instruction uses only the front or back loop, check whether the unused loop is needed later before working the next round.
Prepare any crochet-in attachments before reaching their joining round. Keep the written pattern open alongside its own step photos or video; a different animal's assembly tutorial may place similar-looking parts differently.
Tips & troubleshooting
My stitch count is wrong after an increase round
Stop before working another round. Count from the marker and compare the repeat with the number of incoming stitches: an increase uses one stitch and makes two; a standard single-crochet decrease uses two and makes one. Check for an accidental extra stitch beside the marker, a missed increase, or a special stitch counted twice, then undo back to the error instead of hiding it with a random decrease.
Stuffing shows between the stitches
Check whether the piece is overfilled before changing tools. If the fabric has gaps even with light stuffing, try the same yarn with a slightly smaller hook on a test section. Changing hooks halfway through a paired part can alter its size, so compare both pieces and remake consistently if needed.
A fin, wing, or foot points the wrong way
Look at the source's right-side orientation, front-loop/back-loop instruction, and attachment position. For crochet-in parts, undo to the joining point rather than twisting the completed piece into place. For sewn parts, temporarily position both sides before completing either seam.
The stripes have a small step
Continuous rounds form a spiral, so a color boundary can show a step. Follow the selected designer's color-change method; do not start joining rounds halfway through the pattern to force a straight line. Check whether the change is meant to sit underneath or behind the animal before deciding it is misplaced.
The no-sew project is taking longer than expected
No-sew usually describes how parts are attached, not the absence of finishing work. Counting, special stitches, embroidery, stuffing, closing openings, and weaving ends still take time. Choose by techniques you can follow comfortably rather than treating a designer's completion estimate as a deadline.
Frequently Asked Questions
Which project is easiest for an absolute beginner?
Start with a plain practice shape if you have not yet learned increases, decreases, and round counting. After that, compare the chick's wing loops with the whale's fin-and-tail section and choose the one you understand. A project with a video, such as the bee, may suit you better than a smaller project with fiddly crochet-in parts.
Are all twelve patterns free?
Each link offered written web instructions at our review date. An optional paid PDF is a separate format, not a required purchase to use that web pattern. Follow the source link and scroll to its written instructions or pattern jump button.
Does no-sew mean everything is made in one piece?
No. A turtle or mini bunny can have separate components that are crocheted into the body instead of sewn on afterward. Read the order of construction so you do not reach an attachment round without the pieces ready.
Can I make the animals match the collection photo?
Use the designer's photos to see the exact pattern result. Our collection image is styling inspiration, and its bear, rabbit, and whale are not verified samples of the linked designs. Yarn substitutions and changes to proportions are adaptations, not guaranteed matches.
Can I sell what I make?
Check the current finished-item terms on the specific designer's page. Free access is not permission to republish their written pattern or photographs. Credit the source when requested and use your own finished-project photographs.
Keep exploring
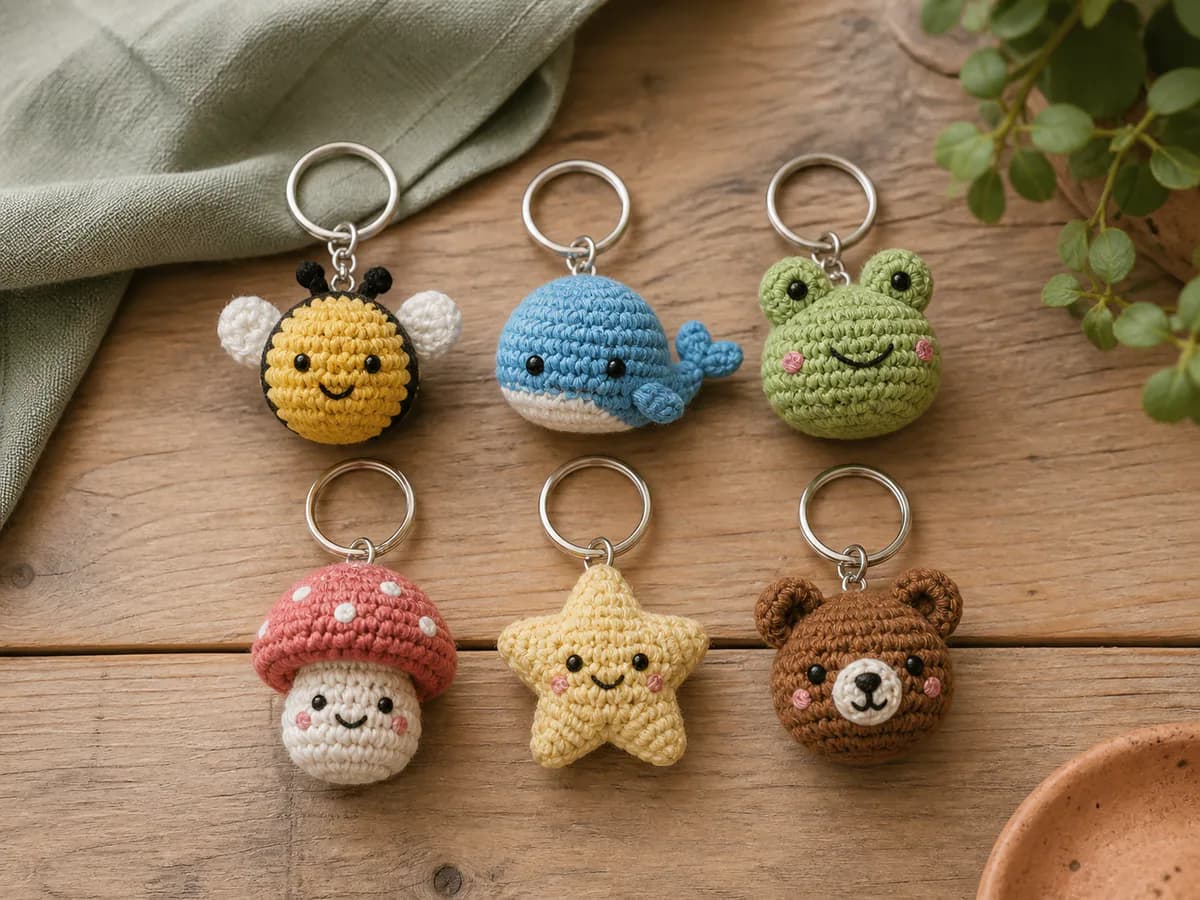
For a route through the core techniques, use our amigurumi beginner roadmap. If you want to turn a small project into an accessory, our 8 free patterns for crochet keychains explains size choices and hanging-loop adaptations. Browse the crochet pattern library when you are ready to choose your next type of project.
Essential crochet guides
Maker notes
Questions or finished-project notes?
Share what helped, ask about a step, or leave a thoughtful note for the next maker.
Loading maker notes...