Free Crochet Blanket Patterns for Beginners (Granny Square)
Make a beginner granny square blanket with a repeatable square pattern, joining plan, size chart, yarn estimate, border instructions, and layout tips.

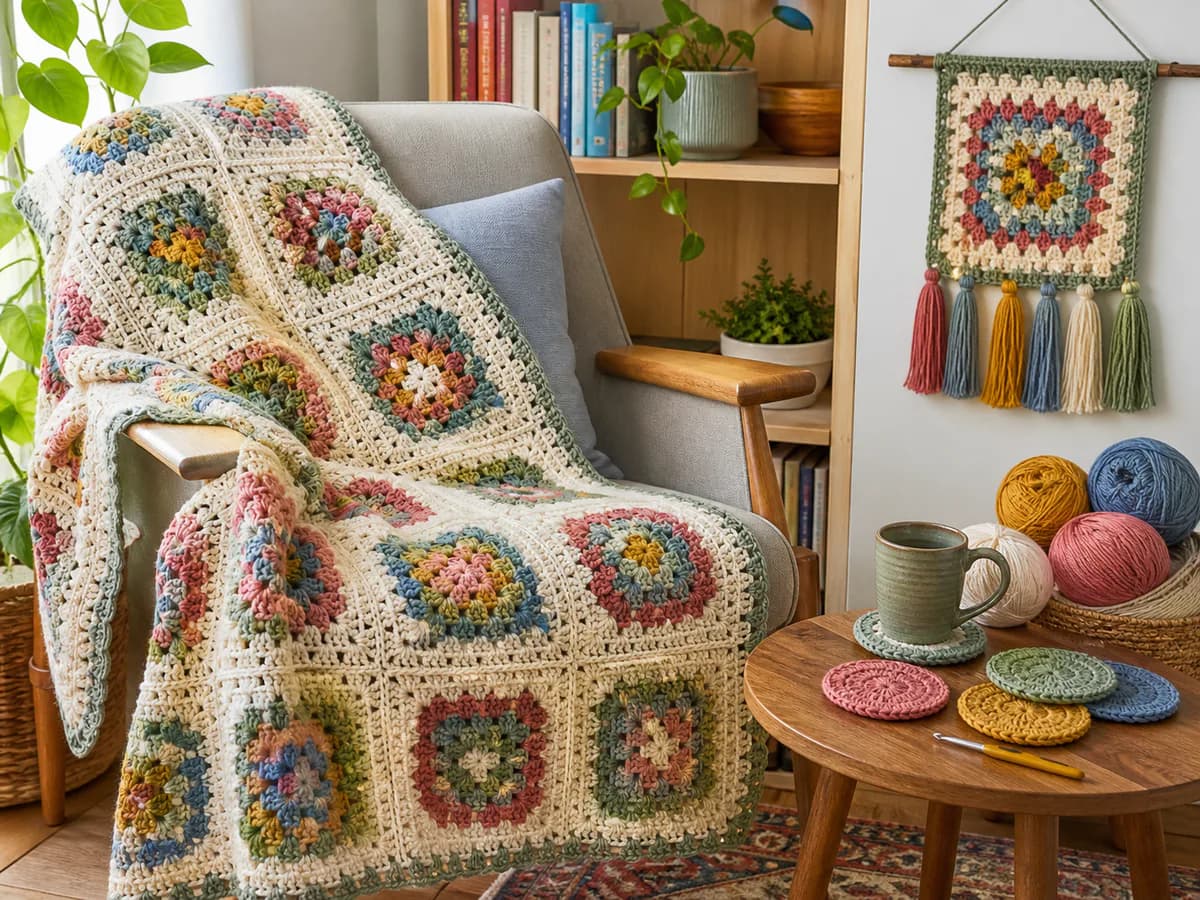
A granny-square blanket is manageable for a beginner because every square is a portable repeat and small gauge differences can be corrected before joining. This guide focuses on one dependable square, a simple layout, and a join that creates a flat, durable blanket.
Project plan: Make one practice square, wash and measure it, calculate the layout, then crochet the remaining squares in batches. Join only after every square has the same blocked dimensions.
Materials and blanket planning
- Worsted-weight washable yarn in three colors plus a joining color
- 5 mm hook
- Blunt yarn needle, scissors, and blocking pins
One 12 cm square usually uses about 20 to 28 m of worsted yarn, depending on stitch height and tension. Make one complete square and weigh it; multiply by the number of squares and add 15 percent for joins, border, and swatching.
| Approximate blanket | 12 cm square layout | Total squares |
|---|---|---|
| Baby or lap blanket | 6 × 8 | 48 |
| Small throw | 8 × 10 | 80 |
| Large throw | 10 × 12 | 120 |
Blankets and loose bedding are not appropriate in an unsupervised infant sleep space. Follow current safe-sleep guidance when gifting baby-size blankets.
Classic granny square pattern
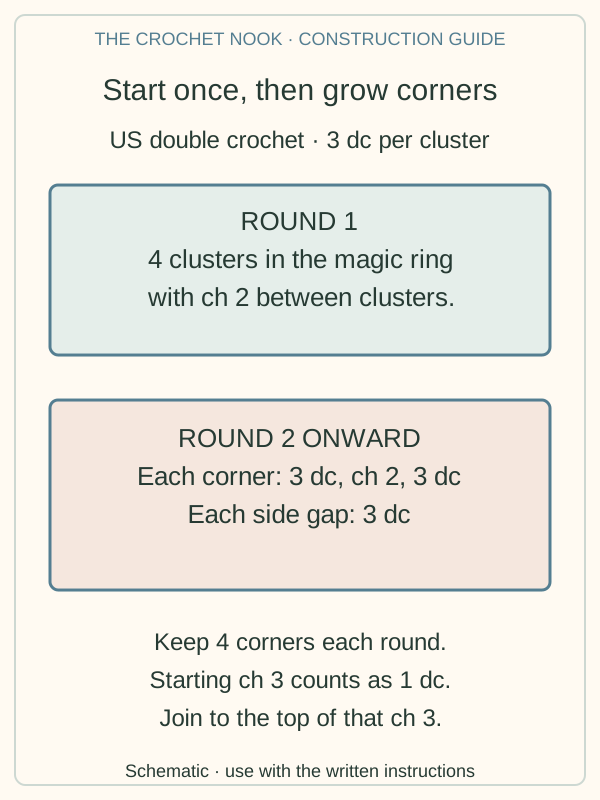
US terms: ch (chain), sl st (slip stitch), dc (double crochet), and sp (space). A granny cluster is 3 double crochet worked into the same space.
- Round 1: Make a magic ring. Ch 3 (counts as dc), 2 dc in the ring, ch 2. Work (3 dc, ch 2) three more times. Join to the top of ch 3. Pull the ring closed.
- Round 2: Slip stitch to the first corner. Ch 3, 2 dc, ch 2, 3 dc in that corner. In each remaining corner work (3 dc, ch 2, 3 dc). Join.
- Round 3: Slip stitch across the next two dc and into the corner ch-2 space. Ch 3 (counts as the first dc), then work (2 dc, ch 2, 3 dc) in that corner. Continue around with 3 dc in each gap between clusters and (3 dc, ch 2, 3 dc) in each remaining corner. Join to the top of the starting ch 3.
- Rounds 4-6: Begin and join as in round 3. Each corner receives two clusters separated by ch 2; each side gap receives one 3-dc cluster. No extra chains are added between side clusters in this version.
- Fasten off, leaving a tail long enough to weave through several clusters.
Change color at the start of any round by joining the new color in a corner space. Weave ends after every batch of five squares instead of leaving all finishing to the end.
Block and arrange the squares
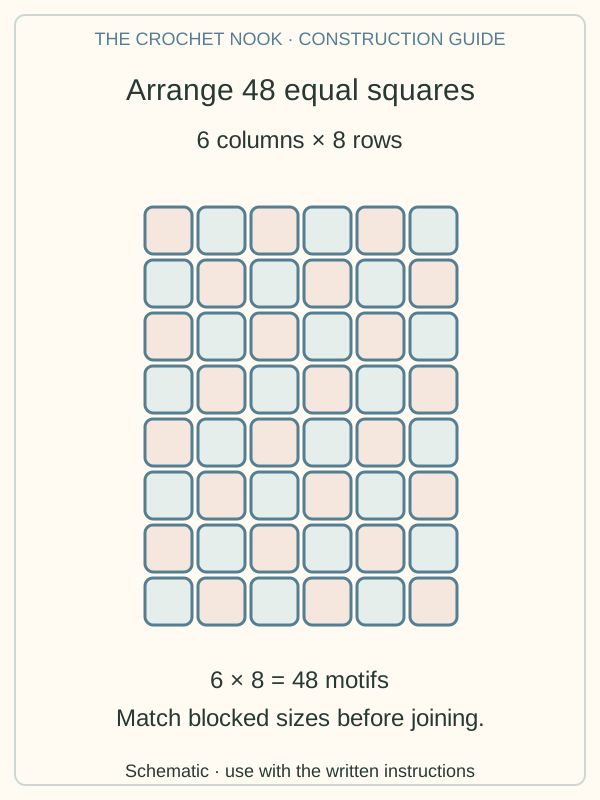
Wash one test square according to the yarn label. Pin it to a square measurement without overstretching. Block all remaining squares to that same size.
Lay the squares on a clean floor or bed and photograph the arrangement. Distribute the strongest colors across the layout rather than clustering them in one corner. Stack each row in order and label it before joining.
Join with single crochet
Hold two squares with wrong sides together. Join yarn in a corner and single crochet through the corresponding back loops of both squares. Continue across, matching every stitch and chain space. Join squares into rows first, then join the long row seams. This method creates a small ridge on the front; hold right sides together if you prefer the ridge on the back.
Add a simple border
- Round 1: Single crochet evenly around the blanket, working one stitch in each stitch and 3 sc in each outer corner.
- Round 2: Hdc in every stitch. In the center stitch of each 3-sc corner, work (hdc, ch 1, hdc), adding one hdc at each corner.
- Round 3: Sc in every hdc and work (sc, ch 1, sc) in each corner ch-1 space. Join and fasten off.
If the edge waves, there are too many border stitches. If it pulls inward, add stitches evenly or move up one hook size for the border.
Tips & troubleshooting
My squares are different sizes
Sort them by size after blocking. Rework outliers rather than forcing them into the join; stretched seams remain visible and can distort the blanket.
The corners twist
Turn the square after every round, or consciously relax the corner chains. Rotating direction offsets the natural lean of repeated double crochet.
Color changes look untidy
Finish the last pull-through of the old color with the new color, then secure both tails along the top of the next few stitches before weaving them in separately.
Frequently Asked Questions
Is a granny square blanket suitable as a first large project?
Yes. Make four squares first and join them as a cushion panel. That small rehearsal tests your square size, color order, and joining method before you commit to a blanket.
Can I mix yarn brands?
Use yarns with similar fiber, thickness, stretch, and care instructions. Wash the practice square to check colorfastness and size change.
Related guides
Explore reimagined granny squares, plan a mosaic blanket, or return to the absolute beginner crochet guide.
Essential crochet guides
Maker notes
Questions or finished-project notes?
Share what helped, ask about a step, or leave a thoughtful note for the next maker.
Loading maker notes...