Kawaii Amigurumi Face & Bow Tutorial for Beginners
Make an expressive kawaii amigurumi face and a tiny crochet bow with exact placement tips, embroidery guidance, and a beginner-friendly base pattern.

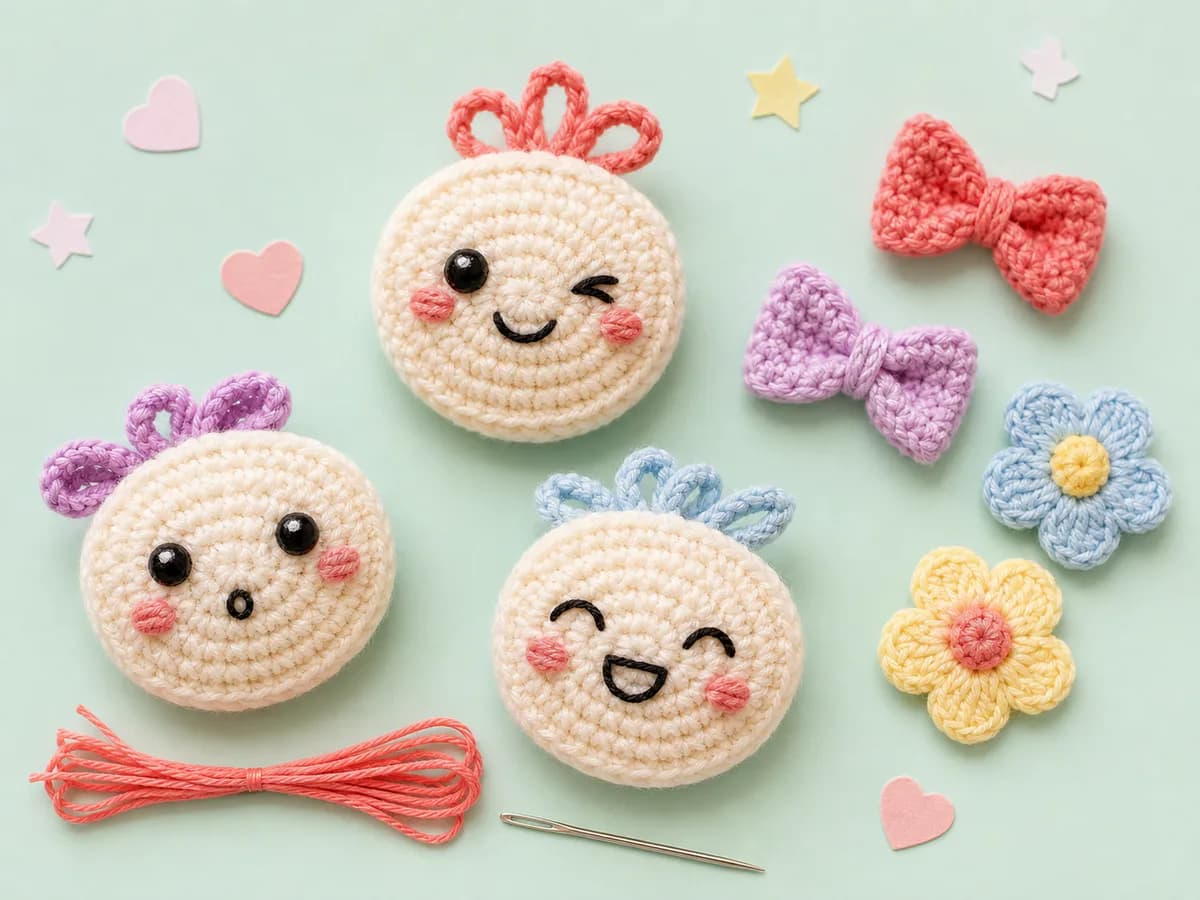
A small change in eye spacing or mouth height can completely alter an amigurumi expression. This tutorial uses a 24-stitch round practice head as a face-placement surface, then adds an embroidered face and a separate crochet bow. Make the face before closing the head so knots and yarn tails can be secured inside.
Placement rule: Mark the face before stitching it. On this practice head, leave roughly four to five stitches between the inner edges of the eyes. Place the mouth one round below their midpoint, then adjust the markers while viewing the head from arm's length.
Fan-made project note: This tutorial uses broad kawaii craft conventions and original construction. It is not affiliated with or endorsed by any character or trademark owner.
Materials
- DK cotton or smooth acrylic yarn
- 3 mm hook
- Black and pink embroidery floss
- Pins, yarn needle, stitch marker, and stuffing
This tutorial uses US terms: ch (chain), sc (single crochet), inc (2 sc in one stitch), dec (single-crochet decrease), and st (stitch). Counts in parentheses are totals after the round.
- Optional white floss for tiny eye highlights
Use embroidered eyes for young children's toys. Plastic safety eyes can loosen through wear and are not suitable for every recipient.
Crochet the round practice head
Work in a continuous spiral and move the marker every round.
- Round 1: 6 sc in a magic ring. (6)
- Round 2: Inc around. (12)
- Round 3: (Sc, inc) 6 times. (18)
- Round 4: (2 sc, inc) 6 times. (24)
- Rounds 5-10: Sc around. (24)
- Round 11: (2 sc, invisible dec) 6 times. (18)
Pause here for the face. Flatten the head gently so the increase points sit at the sides rather than front and back.
Embroider a balanced face
Mark before stitching
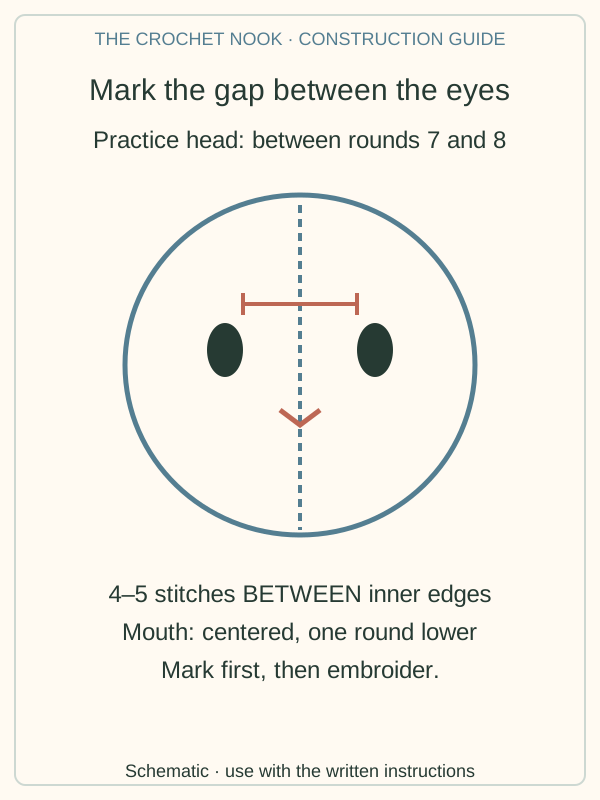
Place pins for the inner edges of the eyes between rounds 7 and 8, roughly four to five stitches apart. Add a mouth pin one round lower and centered. Move the pins until the expression looks balanced from the front, side, and above.
Make the eyes
Bring black floss out at the lower eye point. Make two or three short vertical stitches over the same path, keeping tension even. Repeat for the other eye and compare their height before tying off inside. A single tiny white stitch near the upper edge creates a highlight without changing the eye shape.
Add the mouth and cheeks
Make a shallow V or one short horizontal mouth. For blush, add two loose pink stitches one stitch outside each eye. Avoid pulling embroidery tight enough to dent the crochet fabric.
Finish the head with Round 12: Repeat (sc, invisible dec) 6 times. (12) Stuff in small pieces. Round 13: Invisible dec 6 times, then close through the remaining front loops. (6)
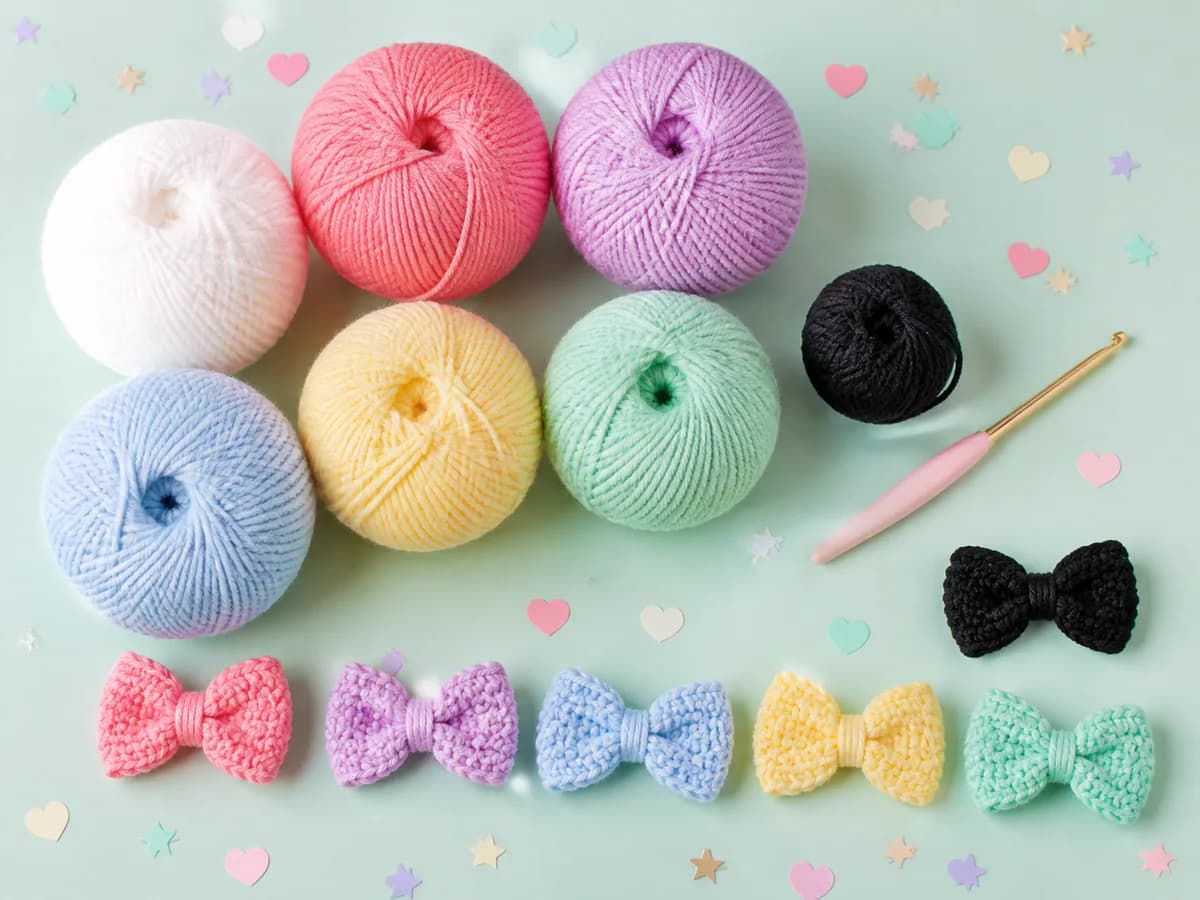
Crochet a small bow
- Chain 5. Starting in the second chain, sc across. (4)
- Chain 1, turn, and sc across for 3 more rows.
- Fasten off, leaving a 25 cm tail.
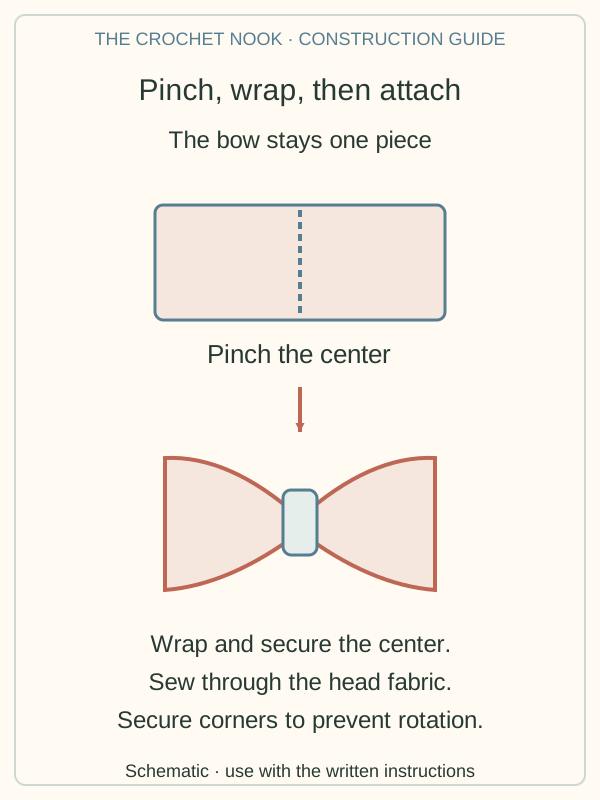
- Weave the tail to the center. Pinch the middle of the rectangle into a bow shape, keeping its two wings spread, and wrap the center four or five times.
- Secure the wrap on the back, then sew the bow through several head stitches.
For a wider bow, begin with chain 7 and work 5 rows. Keep the center wrap firm but not so tight that it folds the bow into a hard knot.
Tips & troubleshooting
The expression looks uneven
Remove only the uneven feature and restitch it using the rounds as a grid. Comparing each eye to the same center stitch is more reliable than measuring from the edge of the head.
The bow rotates
Anchor both lower corners as well as the wrapped center. Three attachment points prevent the bow from pivoting during handling.
The embroidery disappears into the fabric
Use floss with strong value contrast. On dark yarn, choose cream or brown rather than black, and outline the eye with a lighter highlight.
Frequently Asked Questions
Should facial features be added before stuffing?
Add them after partial shaping but before final stuffing and closing. This lets you judge the form while keeping access to the inside for secure knots.
Can I sell a finished item made from this tutorial?
The construction is original, but sellers remain responsible for local product-safety rules and for avoiding protected character names, logos, and distinctive commercial designs.
Related guides
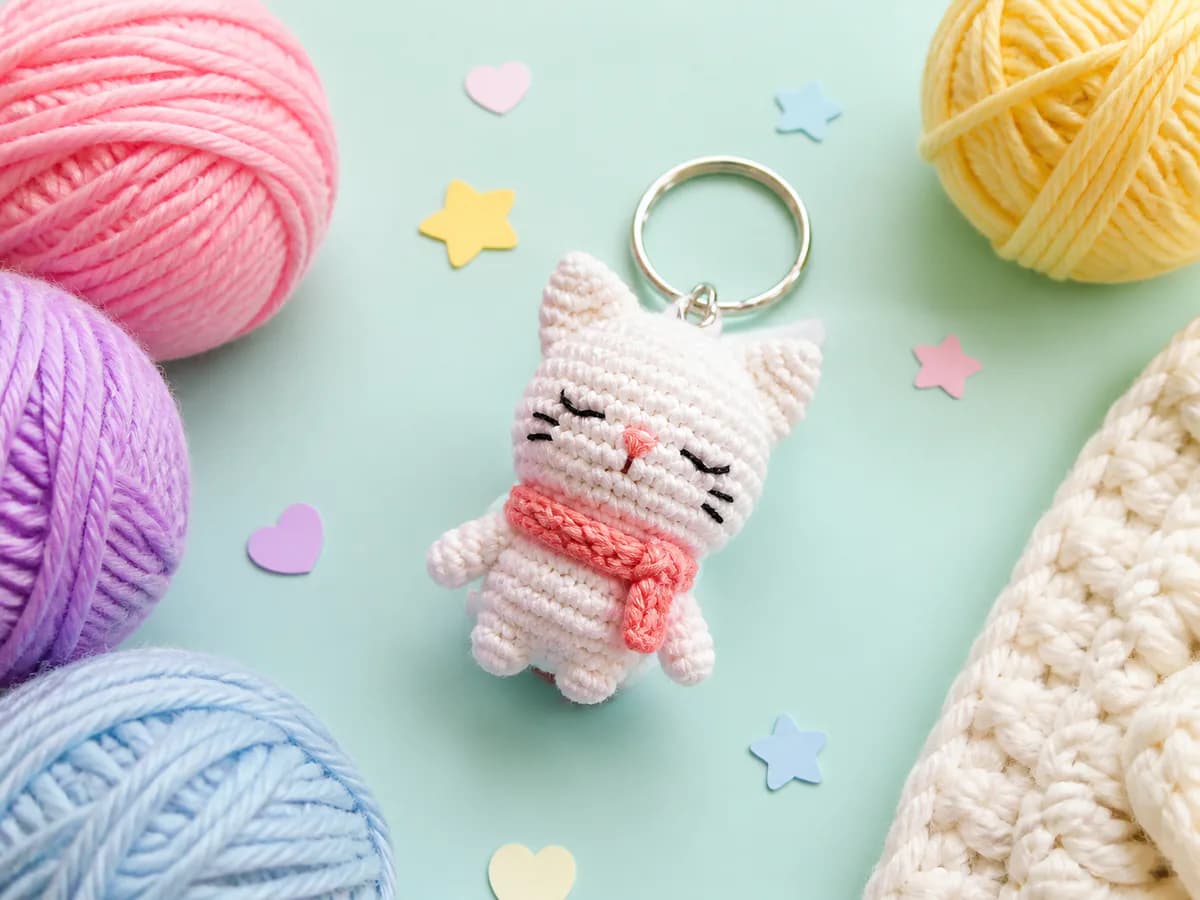
Build the form with the amigurumi beginner guide, compare kawaii yarn palettes, or make a small amigurumi keychain.
Essential crochet guides
Maker notes
Questions or finished-project notes?
Share what helped, ask about a step, or leave a thoughtful note for the next maker.
Loading maker notes...