Hello Kitty-Inspired Crochet Keychain: Easy Free Pattern
A small two-panel cat-face keychain with exact oval shaping, triangle ears, a compact bow, embroidered eyes, yellow nose, and reinforced hardware loop.

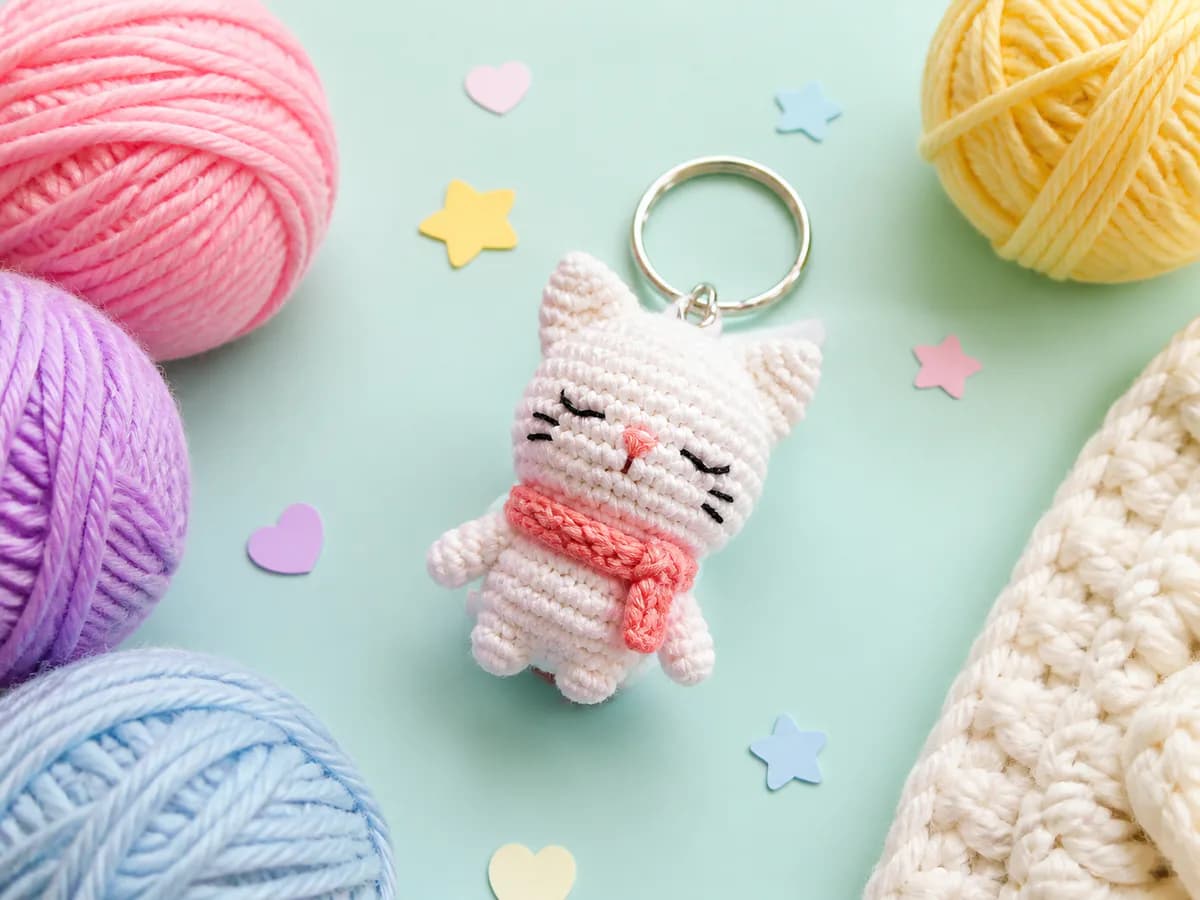
Make a lightly padded cat-face crochet keychain from two matching oval panels, two little ears, a pinched bow, and embroidered features. This pattern makes a face-only charm: the pink outfit and full body in the collection image are styling inspiration and are not included in these instructions.
The oval counts and assembly sequence have been reviewed on paper. Finished dimensions, yarn usage, and attachment durability have not been established with a completed sample. This is an unofficial personal-use fan project, with no affiliation with or endorsement by Sanrio.
Materials and preparation
- Smooth DK cotton in white for both panels and ears, plus pink or red for the bow
- A 2.75-3.5 mm hook as a starting range; choose one that makes dense, workable fabric
- Black and yellow embroidery yarn or floss, with a blunt needle that fits the stitches
- A small pinch of stuffing, removable markers, scissors, and a yarn needle
- A split ring or clasp with a closed attachment ring; check the actual ring against the finished loop
- Strong, smooth matching yarn for a sewn hanging loop
Make both panels with the same yarn and hook. Lay them together before decorating: their edges should match without stretching. The amigurumi yarn and hook guide explains how to reduce stuffing gaps. This is a small accessory with hardware, not a baby toy.
Terms and joined rounds
US terms: ch = chain, sc = single crochet, hdc = half double crochet, dc = double crochet, inc = two sc in one stitch, sl st = slip stitch. Each panel uses joined rounds without turning. Join to the first actual sc, ch 1 to begin the next round, and work its first stitch into the same stitch as the join. The ch 1 and joining sl st do not count.
Make two white oval panels
- Round 1: Ch 7. Sc in the second chain from the hook and in the next 4 chains. Work 3 sc in the last chain. Rotate the foundation to its unused underside loops; sc in the next 4 positions, then 2 sc in the same chain as the first sc. Join. (14)
- Round 2: Ch 1; inc in the first stitch, sc in the next 4, inc in each of the next 3, sc in the next 4, inc in each of the last 2. Join. (20)
- Round 3: Ch 1; (sc, inc) once, sc in the next 4, (sc, inc) 3 times, sc in the next 4, (sc, inc) twice. Join. (26)
Fasten off the first panel and weave in its ends. Make the second panel identically, then fasten off with a tail to weave in. Both panels need 26 actual edge stitches, excluding the join. Use a fresh length of white yarn for joining after the embroidery and loop are secured.
| Round | Straight sides | Each curved end | Total |
|---|---|---|---|
| 1 | 4 + 4 | 3 | 14 |
| 2 | 4 + 4 | 6 | 20 |
| 3 | 4 + 4 | 9 | 26 |
The near curved end crosses the round boundary: round 1's first stitch and last two stitches belong to the same end. Keep that group marked so subsequent increases do not drift onto the straight side. These counts make a small oval panel, not the deeper stuffed head from our full cat amigurumi pattern.
Two ears and a small bow
Ears, make two in white: ch 4; sc in the second chain from the hook, hdc in the next chain, and dc in the last. Fasten off with a sewing tail. Each ear has three worked stitches of increasing height. Use the foundation-chain edge as its base and orient the taller dc end toward the outside of the face, mirroring the second ear.
Place one base along each upper outer curve of the front panel. Sew through the ear base and several firm stitches just inside the panel edge, leaving the outermost edge loops available for joining. The ears are separate flat tabs, not extra stitches in the 26-stitch panel perimeter.
Bow in pink or red: ch 5. Row 1: sc in the second chain and each remaining chain. (4) Rows 2-3: ch 1, turn, sc in all four stitches. (4 per row) The turning chain never counts. Fasten off with a long tail, pinch the center, wrap it about six times, and secure the wrap on the back. Sew the bow below the ear on the viewer's right, securing its center and corners without covering the eye position.
Embroider the face before joining
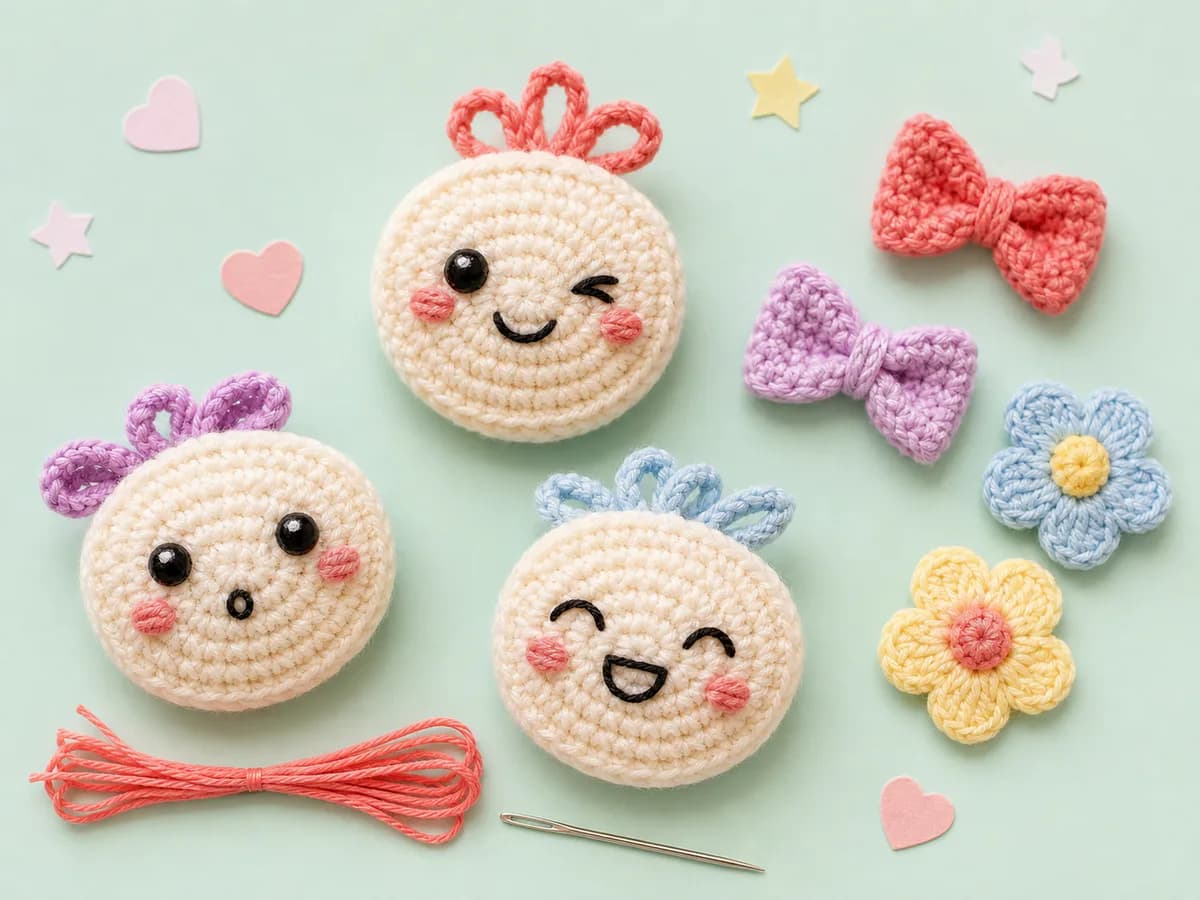
Lay the front panel horizontally, with the foundation chain running left to right. Mark its visual center with a removable strand. Place two small oval eyes equally far from that center and a horizontal yellow nose centered slightly below them. Add three short whiskers on each outer cheek, and no mouth.
Do not use a fixed six-stitch gap from a three-dimensional head here: this panel has only three rounds and different geometry. Try short waste-yarn marks first, keeping the features inside the seam allowance. Use adjacent short embroidery passes to fill each eye rather than pulling one long stitch tight enough to dent the panel.
Our amigurumi face tutorial explains placement and stitching. June Gilbank's eye-positioning guide at PlanetJune provides additional visual guidance; it supports the placement technique, not a claim that she has tested this keychain. Secure the embroidery tails on the reverse while it is accessible.
Add a sewn hanging loop
Add the loop before closing so its attachment can be secured inside. This replaces an ambiguous instruction to slip stitch over a completed loop.
- At the crown of the back panel, use a doubled length of smooth matching yarn to form a short loop. Fit it to your actual split ring before securing it; do not assume eight chains fits every clasp.
- Pass the two ends into separate neighboring firm stitches near the crown, just inside the joining edge. Leave enough loop exposed for the ring to move without rubbing directly on the panel seam.
- Sew each end back through several stitches on the inside, then weave it back in a different direction. Spread the attachment across fabric rather than relying on one loose stitch or one knot.
- Keep the loop outside and the tails inside when joining the panels. Attach an opening split ring after closure; a closed clasp ring must be threaded onto the loop before its ends are secured.
This is an attachment method, not a tested strength rating. Check for movement or yarn abrasion during use and replace a worn loop rather than pulling harder to prove its strength.
Join the panels
Place the wrong sides together with both long axes horizontal. Match the top centers, bottom centers, and curved ends with markers; paired stitches must align even though the two visible right sides face away from each other.
Join fresh white yarn at a lower edge position. Ch 1, then sc through both loops of the corresponding edge stitch on each panel. Continue one sc per matched pair. Leave the last four pairs temporarily open, add only a small pinch of stuffing, then work the final four sc. Join to the first sc: 26 joining sc in total, with no extra corner increases or stitches into the panel joins. Fasten off and weave in the tail.
The ear tabs and hanging loop stay outside the seam; do not accidentally crochet across them as additional edge stitches. Check that stuffing is contained, the embroidery remains smooth, and the ring moves freely. Inspect with gentle hand tension over a soft surface; this check does not establish durability under repeated use.
Tips & troubleshooting
One panel has 27 edge stitches
Check whether you counted or worked into a joining slip stitch. The end of round 3 has 26 sc, plus an uncounted join. Correct the extra stitch before assembly rather than gathering one panel to fit.
The face puckers
Loosen the embroidery before closing. Long, tight passes can pull opposite parts of the oval together. Shorter passes and less stuffing preserve the flat-panel shape better than stretching it afterward.
The ears disappear into the seam
Attach their bases just inside the front edge and leave their taller ends visible. Keep the panel's edge loops free, then join matching panel stitches rather than sewing across the ear tips.
The charm rotates on its ring
Check that the loop sits at the actual top center and that the bow is not dragging one side down. Reposition an insecure attachment while the back is accessible. A clasp attached to an ear or bow will distort that decoration.
Frequently Asked Questions
Will this make the full doll shown in the image?
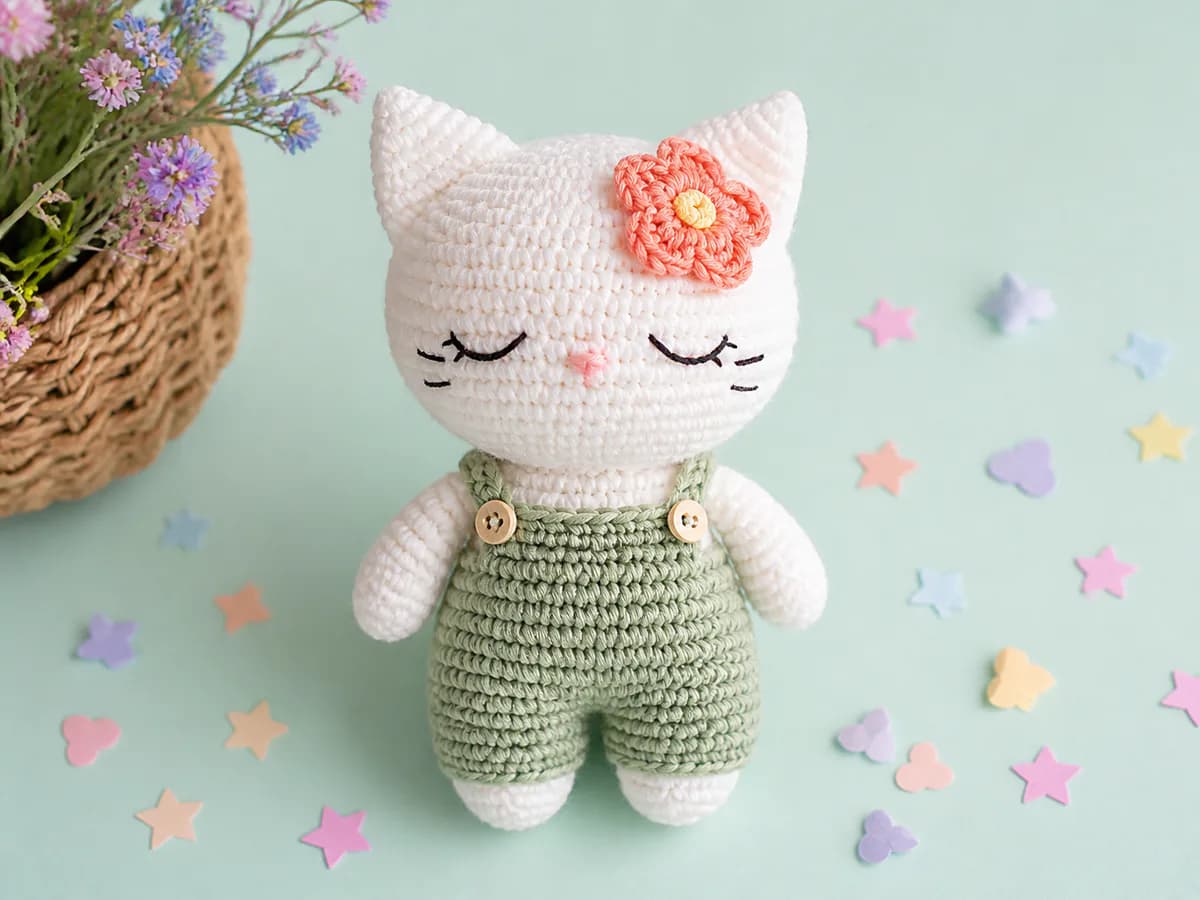
No. This pattern makes a padded cat face with ears and a bow. For a doll with a body and limbs, follow the separate full amigurumi pattern linked above.
How large will the keychain be?
Measure your completed panels and ears. The earlier 6-8 cm estimate has not been verified with a sample, so it should not be used to choose packaging or hardware in advance.
Can I use thicker yarn?
Yes, but make both panels consistently and reassess the bow, face, and loop proportions. A larger hook alone can create loose fabric that exposes the stuffing.
Is this an official character pattern?
No. It is an unofficial fan-inspired design presented for personal use, without endorsement or licensing claims.
Keep exploring
Compare small crochet keychain projects, choose a palette in our kawaii yarn color guide, or browse kawaii crochet ideas.
Essential crochet guides
Maker notes
Questions or finished-project notes?
Share what helped, ask about a step, or leave a thoughtful note for the next maker.
Loading maker notes...