8 Free Amigurumi Patterns for Crochet Keychains
Find 8 free crochet keychain patterns and small amigurumi to turn into charms, with designer links, yarn notes, sizes, and keyring attachment tips.

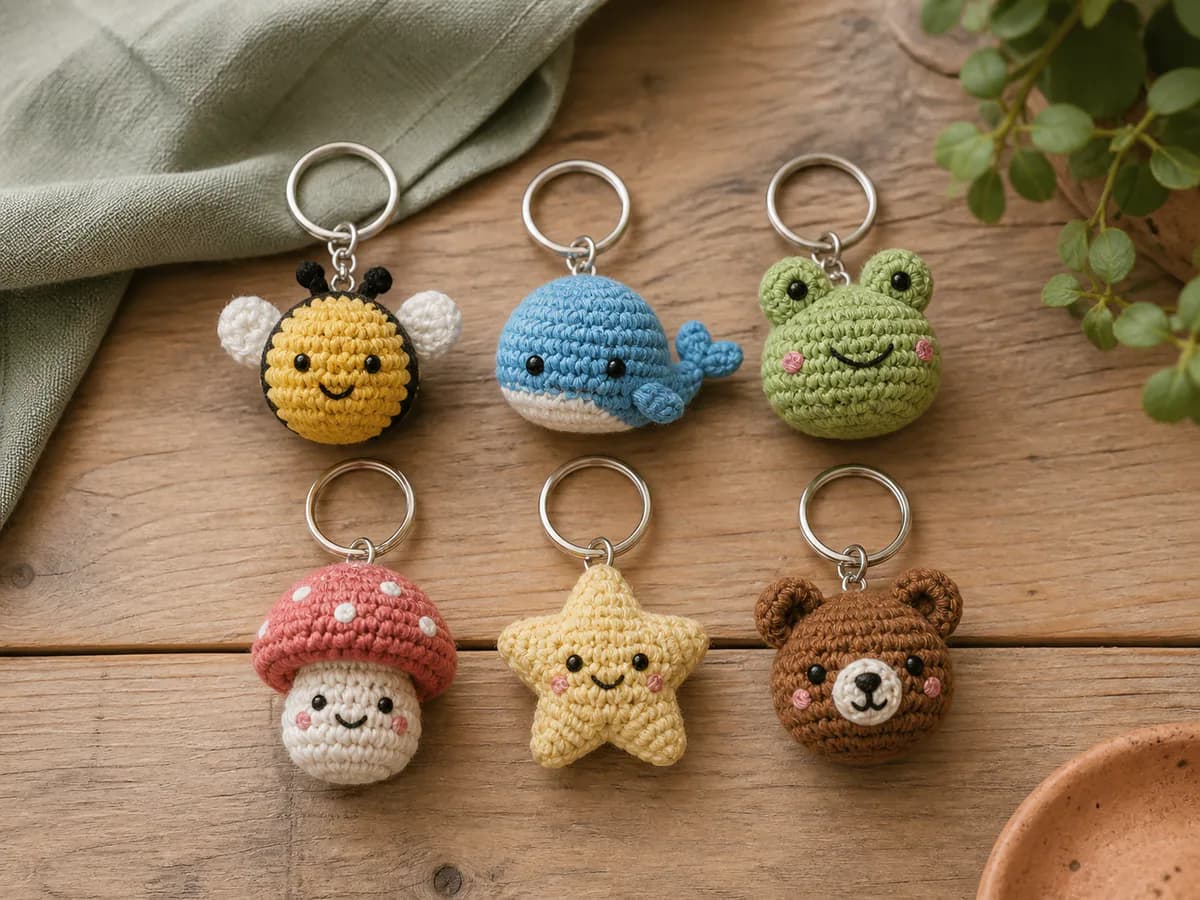
A small crochet charm is a lovely way to carry a favorite animal or a bright little star. These eight free crochet keychain patterns and small amigurumi designs have written instructions you can actually follow, with links to the original designers and notes to help you choose.
Some are designed with keychain use in mind; others are small stuffed projects that need a hanging loop and ring added. That distinction matters: a free plush pattern does not automatically include hardware instructions. The collection image offers styling ideas, while each linked pattern shows the design you will make.
Want a Halloween version? Our separate crochet ghost keychain pattern includes the full round counts, embroidered face, and sewn loop; it is an extra project beyond the eight compared below.
The free web instructions were checked on September 27, 2026. A designer may also sell a printable PDF; buying it is not required to read the linked web pattern. These are source and construction reviews, not a claim that we have crocheted every project ourselves.
Choose your crochet keychain project
Sizes below are the designers' stated measurements for the yarn and hook listed, except the cat-face size, which is our pattern's estimate. Different yarns, tension, or stuffing will change the result.
| Project | Yarn and hook for the small version | Approximate size | What to expect |
|---|---|---|---|
| Bear | Super bulky plush; 4.5 mm | 6.5 cm tall | Bobble limbs and ears; add your own keyring loop |
| Bee | Sport cotton; 2.5 mm | 10 cm | Separate wings and antennae; larger as a bag charm |
| Whale | Sport cotton; 2.5 mm | 6 cm | Sewn fins, tail, and belly; keychain loop guidance included |
| Mushroom | DK cotton; 2.5 mm | 8 cm tall, 6 cm wide | Cap joined to body; add a loop and optional spots |
| Frog | Super bulky plush; 4.5 mm | 6.5 cm tall | Bobble shaping; optional cheeks and added loop |
| Star | Sport; 2.5 mm | 5.5 cm across | Two centers connected through five shaped points |
| Mini bunny | Sport cotton; 2.5 mm | 5 cm | Small parts joined while crocheting the body |
| Cat face | DK; 2.75-3.5 mm | Estimated 6-8 cm | Two panels, sewn details, and reinforced hanging loop |
For a first project, smooth, light-colored yarn makes stitches easier to see than plush yarn. The whale has a video to follow alongside its written pattern; the star needs more attention when picking up stitches for its points. If tight rounds are new to you, start with our beginner amigurumi guide.
1. Tiny no-sew bear
Designer: Stitch by Fay. This is a little full-body bear, with ears and limbs formed as bobble stitches rather than separate stuffed pieces. The designer's plush version is about 6.5 cm tall with a 4.5 mm hook. It suits crocheters comfortable finding stitches in fluffy yarn. The face still needs finishing, and a keyring loop is an adaptation you add yourself.
2. Striped bee bag charm
Designer: Mariska Vos-Bolman, DIY Fluffies. The small cotton bee measures about 10 cm with sport yarn and a 2.5 mm hook, so think bag charm rather than a very tiny pocket keychain. The written pattern and video cover the shaped body, color changes, separate wings, and antennae. Choose the cotton version if size matters: the chenille example is much bigger. Add your hanging loop to the body, not a wing or antenna.
Read the free bee pattern and video at DIY Fluffies.
3. Little whale keychain
Designer: Mariska Vos-Bolman, DIY Fluffies. The sport-cotton whale is about 6 cm with a 2.5 mm hook. Its rounded body begins with a magic ring, with separate flippers, tail, and belly patch attached later. The source includes a video and guidance for adding a keychain loop before closing the body. Pin the pieces in position first so the whale hangs with its face forward.
Read the free whale pattern and video at DIY Fluffies.
4. Mushroom buddy charm
Designer: Stitch by Fay. This character has a small body beneath a wide mushroom cap. DK cotton and a 2.5 mm hook produce a stated size of about 8 cm tall by 6 cm wide. The cap and body are joined together; spots are an optional finishing detail. To use it as a charm, plan a loop at the cap's crown before assembly instead of hanging it from one stitch at the brim.
Read the free mushroom buddy pattern at Stitch by Fay.
5. Bobble-limb frog
Designer: Stitch by Fay. This is a full little frog, rather than just a frog face. The body uses bobble shaping for its features and limbs, with a stated height of about 6.5 cm in super bulky yarn and a 4.5 mm hook. Optional cheeks add a finishing step. Keep the hanging loop centered on the body between the eye bumps, rather than pulling on an eye bump itself.
Read the free frog pattern at Stitch by Fay.
6. Puffy five-point star
Designer: Raffaella, Raffamusa Designs. This star uses two circular centers with the points worked across both, not two completed star panels sewn around the outside. The source has step photos and several yarn-size examples: sport yarn with a 2.5 mm hook makes a stated 5.5 cm star. This is a good choice when you want a charm without facial details, but follow the point construction carefully. Add a loop at one point for hanging.
Read the free star amigurumi pattern at Raffamusa Designs.
7. Lucy mini bunny
Designer: Mariska Vos-Bolman, DIY Fluffies. The sport-cotton bunny is about 5 cm tall with a 2.5 mm hook. Make the ears, feet, and tail first, then join the small parts while working the body as shown in the written instructions and video. "No-sew" describes the main construction, not the embroidered face or added keyring. Follow the cotton version for a pocket-sized result; the chenille examples are larger.
Read the free mini bunny pattern and video at DIY Fluffies.
8. Cat-face keychain with a bow
Designer: The Crochet Nook. Our cat-face charm joins two panels around a small amount of stuffing, then adds ears, a bow, and embroidered features. The tutorial includes the hanging-loop steps, so you do not need to invent an attachment. Its estimated 6-8 cm size depends on your DK yarn and tension. This is an unofficial Hello Kitty-inspired fan project for personal use; it is not an official character pattern or a recommendation to sell character merchandise.
Follow our free cat-face keychain pattern.
Supplies: follow the pattern before choosing hardware
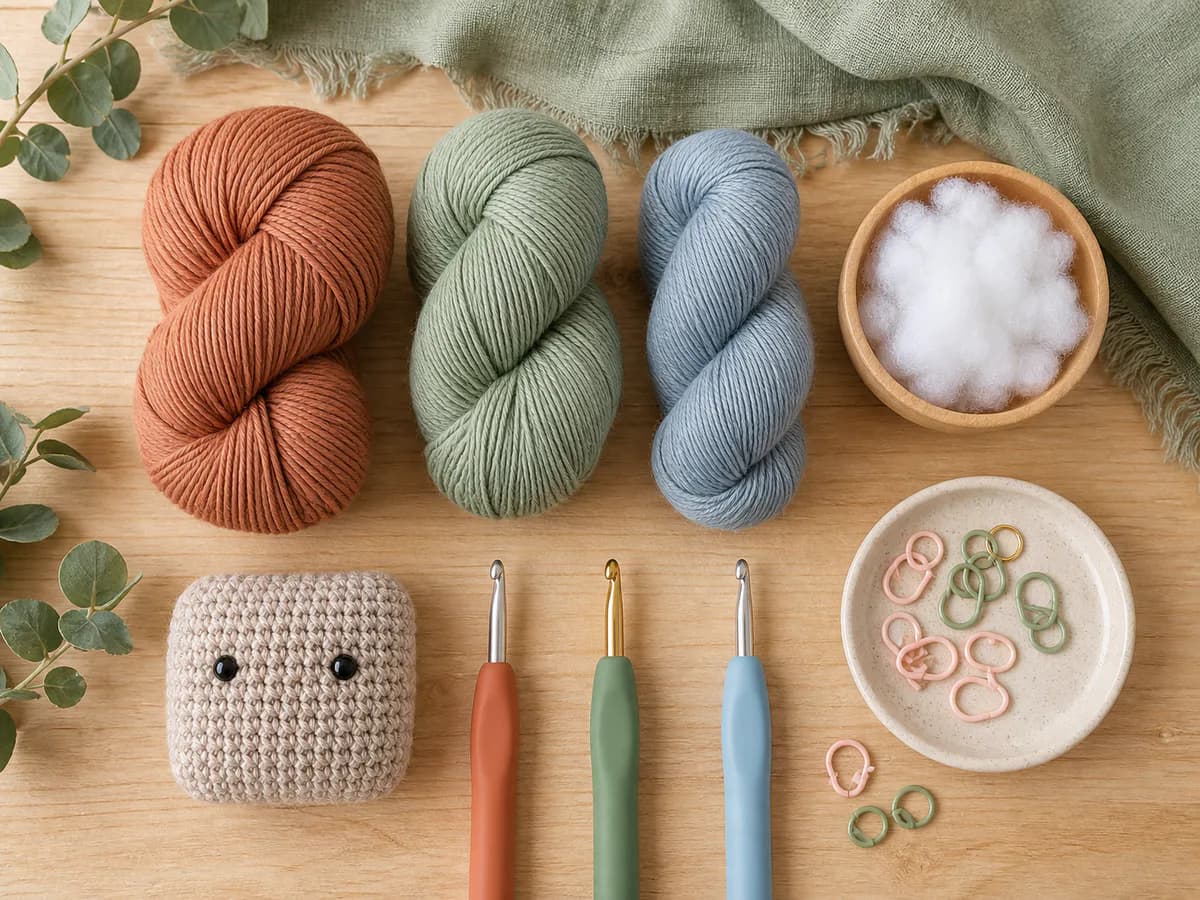
Read your chosen pattern's supply list first. Each designer specifies yarn, hook, stuffing, and finishing materials; a single universal kit would not suit all eight projects.
For turning a small amigurumi into a keychain, you will also need a split ring or clasp, a blunt yarn needle, and strong matching yarn for the hanging loop. Smooth cotton is easier to inspect for wear than fluffy yarn. Leave room for the ring to move without sawing directly against the crocheted surface.
Changing from sport cotton to thick chenille does more than change the texture: the same stitch count can produce a much larger charm. Choose yarn to match the source's small example, then use a hook that makes firm fabric without visible stuffing. Our amigurumi yarn and hook guide explains that trade-off.
For faces, choose embroidery when you want to avoid hard eye pieces. Our amigurumi face and embroidery guide covers placement and securing thread ends. Keyrings and clasps are small hardware, so these projects are accessories, not toys for babies or young children.
How to add a hanging loop to a small amigurumi
Use the designer's attachment method when one is provided. For designs without one, the following is a general adaptation, not part of the original designer's tested instructions.
- Choose the balance point before closing the project. Hold the nearly finished charm at the planned attachment point. Check that it hangs upright and that the ring will clear ears, a cap, or other details.
- Make a short, doubled yarn loop. Leave long tails for securing inside. Size the loop around your actual ring: it should move freely without leaving a long dangling strap.
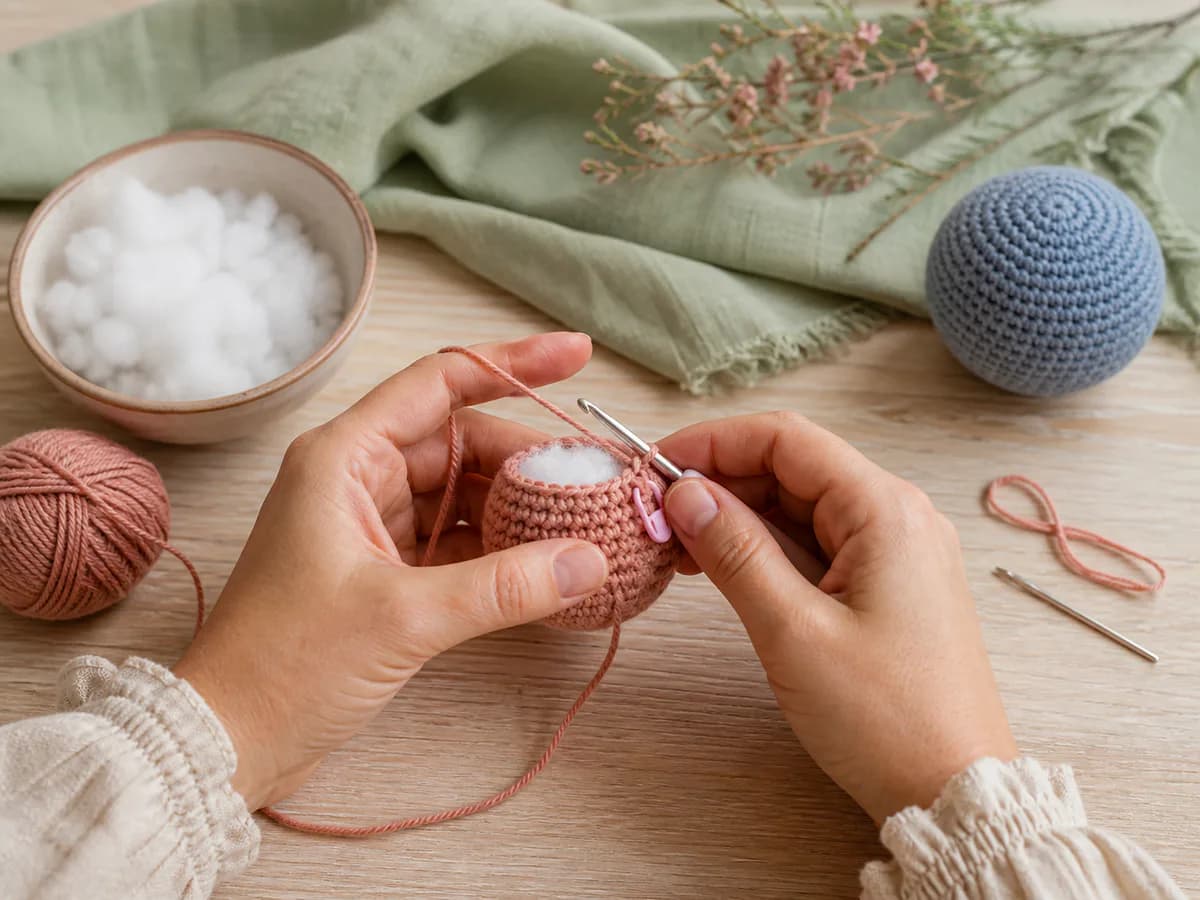
- Spread the attachment across the fabric. Pass the tails through separate neighboring stitches in a dense part of the crown or body. Sew back through several sturdy stitches on the inside, securing and weaving in both tails before final stuffing and closure. Avoid anchoring to a single loose stitch or a lightly attached decoration.
- Finish, attach the ring, and inspect. Use light hand tension to check the join. If stitches stretch open or the charm tilts badly, reposition or reinforce the attachment. This check is not a guarantee of strength; inspect the loop for wear during use.
With plush yarn, consider a smooth matching yarn for the loop and its anchoring stitches. Do not rely on glue alone to hold the hardware. For a finished closed charm, use an accessible, firm area and weave the attachment tails securely through the fabric; if you cannot make a sound join, keep it as a small decorative plush instead.
Tips & troubleshooting
The charm is much bigger than expected
Compare your yarn weight with the small version in the source, not just the hook number. A chenille substitute can turn a pocket keychain into a bag charm. Do not skip shaping rounds to shrink it: that changes the proportions and can break the assembly counts.
The stuffing shows through
Reduce stuffing first if the fabric is overpacked. If the stitches themselves are open, try a slightly smaller hook with the same yarn and make a small test section. Pulling every stitch painfully tight is not a useful substitute for a suitable yarn-and-hook combination.
The keychain hangs sideways
Check the attachment before tightening it permanently. Heavy details or an off-center loop can rotate the project. Move the loop toward the balance point and spread the anchoring across several firm stitches; attaching the ring to a wing, ear, or cap edge can distort that part.
A no-sew pattern still has finishing work
"No-sew" often means that limbs are crocheted into the body. It does not necessarily remove embroidery, weaving in ends, optional decorations, or the work of attaching a keyring. Read the assembly section before deciding whether the project fits the time you have.
Frequently Asked Questions
Are all eight patterns free?
The linked web pages provide written instructions without a required pattern purchase as of our review date. Some designers offer paid PDFs or optional extras. Look for the written pattern on the page rather than assuming the printable PDF button is the only way to access it.
Which one should I try first?
Choose the whale if you want a small cotton project with a video and do not mind sewing on its details. Choose the bear if you already like working bobble stitches in plush yarn. The star's joined-point construction and the bunny's small crochet-in parts call for more concentration than their size might suggest.
Can I use leftover yarn?
Yes, if it suits the pattern's yarn weight and you have enough for the separate pieces. Keep paired ears, wings, or panels in the same yarn thickness. Mixed weights can change the fit of joins and the balance of the finished charm.
Can I sell finished keychains?
Check the original designer's current terms for the specific pattern, including attribution requirements. Free access to instructions does not give permission to copy or sell the pattern itself. Our character-inspired cat-face project is presented for personal use.
Do I need metal keyring hardware?
Only if you want a functioning keychain. You can keep the finished amigurumi as a small decoration or attach an appropriate hanging loop for display. Avoid calling it a child-safe toy simply because you replace the eyes with embroidery; size, stuffing, and all attachments still matter.
Keep exploring
For more projects after your first charm, browse our amigurumi beginner roadmap and crochet pattern library.
Essential crochet guides
Maker notes
Questions or finished-project notes?
Share what helped, ask about a step, or leave a thoughtful note for the next maker.
Loading maker notes...