Christmas Crochet: Free Santa Hat Pattern for Dolls
Explore free Christmas crochet patterns with this Santa hat for dolls. Follow clear rounds, a fluffy brim, pom-pom instructions and practical fit checks.
Maya at The Crochet Nook · https://www.thecrochetnookblog.com/articles/crochet-santa-hat-pattern-for-dolls

On this page

Small Christmas crochet patterns are useful when you want to refresh a favorite handmade toy without starting a new doll. This red Santa cap adds a long, softly bending tip, a fluffy white brim, and a round pom-pom to a festive display.
The crochet Santa hat pattern below begins at the opening and narrows over 38 rounds. You then add the white trim and sew on the pom-pom. It makes a seasonal accessory for dolls and Christmas crochet amigurumi projects, with a fit check before you commit to the shaping.
Designer credit: The original free “CAP” pattern is by Elena Dorogina. Follow her on Instagram at @dorogina_toys. This guide expands her cap and brim instructions; the replacement pom-pom sequence is clearly identified below.
Before You Start: Materials and Fit
This project suits confident beginners who can work half double crochet, recognize stitch tops, and decrease. Fluffy yarn makes counting harder, so finish the smooth red section first.
Gather Your Supplies
- Red YarnArt Jeans No. 90: 55% cotton and 45% acrylic, 50 g/160 m.
- White Alize Softy No. 55: fluffy polyester yarn, 50 g/115 m, or a suitable white substitute.
- A 2.25 mm crochet hook, as specified in the PDF.
- Polyester fiberfill for the pom-pom.
- Tapestry needle, scissors, and stitch markers.
The yarn figures describe ball specifications, not measured project usage. The source gives no project yardage or gauge, so avoid planning several hats from an assumed quantity.
Check the Opening on Your Toy
The PDF describes a toy head diameter of 18 cm, but provides no gauge to verify the resulting fit. Do not reinterpret that figure as an 18 cm circumference. Use the actual toy and the 48-stitch opening as your guide.
Try the first two rounds over the head, allowing space for ears or hair. The opening should slide into position without squeezing the toy or hanging loosely. If it does not fit, adjust your hook or yarn and restart; changing only the chain count would also require recalculating the shaping.
Step 1: Understand the Stitches and Round Method
These instructions use US terms:
- Ch: chain; sl st: slip stitch.
- Sc: single crochet; hdc: half double crochet.
- Inc: two single crochets in one stitch.
- Dec: single crochet two stitches together through their front loops.
- BLO: back loop only; MR: magic ring.
The source defines a decrease as an sc decrease, including within the hdc cap rounds. Follow that definition here. Insert through the front loops of two successive stitches, yarn over and draw through both front loops, then yarn over and finish the single crochet.
Work the red section in a continuous spiral with a marker in the first stitch. Move it up each round. For the white brim, use joined rounds as explained in Step 3. Stitch totals exclude joining slip stitches and starting chains.
Step 2: Crochet the Red Santa Cap
Ch 48 loosely. Check that the chain is untwisted, then slip stitch into the first chain to make a ring. Round 1 has one hdc in each foundation chain; continue following the table.
| Round | Instructions | Stitch count |
|---|---|---|
| 1-8 | Hdc around | 48 each round |
| 9 | Repeat [6 hdc, dec] six times | 42 |
| 10-13 | Hdc around | 42 each round |
| 14 | Repeat [5 hdc, dec] six times | 36 |
| 15-18 | Hdc around | 36 each round |
| 19 | Repeat [4 hdc, dec] six times | 30 |
| 20-23 | Hdc around | 30 each round |
| 24 | Repeat [3 hdc, dec] six times | 24 |
| 25-28 | Hdc around | 24 each round |
| 29 | Repeat [2 hdc, dec] six times | 18 |
| 30-33 | Hdc around | 18 each round |
| 34 | Repeat [1 hdc, dec] six times | 12 |
| 35-38 | Hdc around | 12 each round |
Read “6 hdc” as one hdc in each of the next six stitches. Every decrease round removes six stitches. For example, Round 9 uses eight old stitches per repeat: six for the hdc and two for the decrease.
After Round 38, fasten off with enough yarn to close the tip. Thread the tail through the front loops of the remaining 12 stitches, draw the opening closed, and secure the end. Leave the red cap unstuffed so it can bend naturally.
Step 3: Add the Fluffy White Brim
Attach white yarn at the lower foundation edge. Work one hdc per foundation-chain position to keep the border at 48 stitches.
- Round 1: Ch 1, work 48 hdc around, and join to the first hdc with a slip stitch.
- Round 2: Turn the work. Ch 1, then work 48 hdc in BLO in the opposite direction. Join to the first hdc.
- Round 3: Without turning again, ch 1 and work 48 hdc through both loops. Join.
- Round 4: Ch 1 and work 48 hdc through both loops. Join, fasten off, and weave in the tail.
The starting ch 1 does not count as a stitch. Turning after the first round and using BLO creates the fold line. Fold the white border outward and upward to form the cuff, keeping it even around the opening.
With fluffy yarn, use your fingertips to locate stitch tops and add temporary markers every 12 stitches. Count before joining so an extra stitch does not widen the brim.
Step 4: Make the White Pom-Pom
Editorial replacement: The PDF's pom-pom section skips rounds and shows increases beside decreasing totals. The complete sequence below retains its stated 36-stitch maximum, with consistent shaping. This is an editorial replacement, not a designer-confirmed correction.
Use white yarn and work continuous rounds of sc.
| Round | Instructions | Stitch count |
|---|---|---|
| 1 | 6 sc in MR; tighten ring | 6 |
| 2 | Inc in every stitch | 12 |
| 3 | Repeat [1 sc, inc] six times | 18 |
| 4 | Repeat [2 sc, inc] six times | 24 |
| 5 | Repeat [3 sc, inc] six times | 30 |
| 6 | Repeat [4 sc, inc] six times | 36 |
| 7-9 | Sc around | 36 each round |
| 10 | Repeat [4 sc, dec] six times | 30 |
| 11 | Repeat [3 sc, dec] six times | 24 |
| 12 | Repeat [2 sc, dec] six times | 18 |
| 13 | Repeat [1 sc, dec] six times | 12 |
Add fiberfill before the opening becomes difficult to reach. Use enough to round the pom-pom without forcing stuffing between the stitches. Fasten off with a long sewing tail, gather the remaining front loops, and secure the closure.
Step 5: Attach the Pom-Pom and Finish
Sew the pom-pom to the closed red tip, passing through several cap stitches to distribute its weight. Work around the attachment more than once, secure the yarn, and bury the end inside the pom-pom.
Place the hat on your toy and let the tip fall to one side. Smooth the cuff, check the seam, and confirm that the pom-pom stays attached when gently handled. Finish with woven-in ends rather than exposed knots or loose yarn tails.
Tips & troubleshooting
If the cuff flares, check that every brim round has 48 stitches. If you lose your place in fluffy yarn, return to the nearest marker and recount. Our pattern-reading guide explains repeats and round totals. Keep the red cap unstuffed so the tip folds comfortably.
Frequently Asked Questions
Is this one of the easy Christmas crochet patterns for beginners?
It is best for confident beginners. The repeated hdc rounds are straightforward, but the small hook, front-loop decreases, and fluffy trim require careful counting. Practice the decrease with smooth yarn before starting.
Does this Santa hat pattern fit every doll?
No. Fit depends on head shape, yarn, hook, and tension. Test the 48-stitch opening on your toy early. The supplied measurement has no supporting gauge, so this guide does not promise a universal doll size.
Can I replace the fluffy white yarn?
Yes. The PDF allows another white yarn. Choose one that produces a workable 48-stitch cuff, then check the folded brim on the toy. A smooth substitute gives clearer stitch definition and a different texture.
Where can I find more free Christmas crochet patterns?
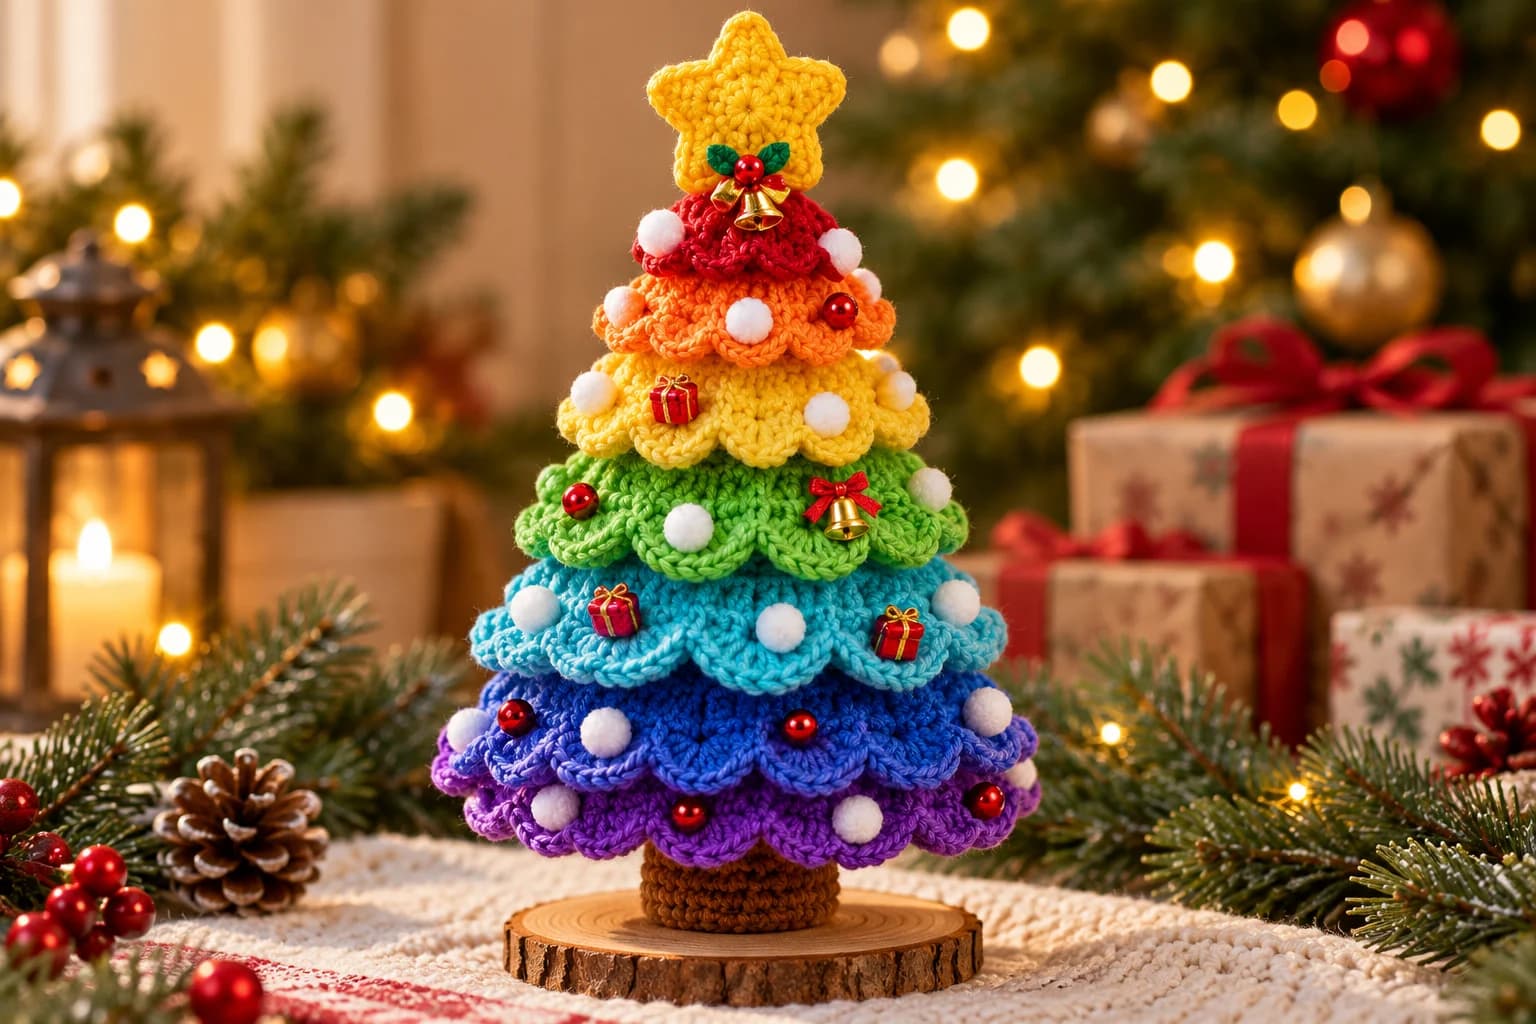
Explore our crochet Christmas ornaments for hanging projects, or make a colorful tabletop Christmas tree. Both offer different ways to build a handmade seasonal display around your decorated toys.
Finish Your Christmas Crochet Santa Hat
Start with a comfortable opening, count each decrease round, and use the back-loop fold to shape the white cuff. Those checkpoints make the long cap easier to manage. Choose your red and white yarn, check the fit on your favorite toy, and give it a festive finishing touch. Remember to credit Elena Dorogina, @dorogina_toys, when sharing your version.
Maker notes
Questions or finished-project notes?
Share what helped, ask about a step, or leave a thoughtful note for the next maker.
Loading maker notes...