Crochet Crossbody Bag & Phone Pouch Patterns
A dense oval-base phone pouch and larger crossbody variation with measured clearance, stable top edges, reinforced tabs, and a strap-testing procedure.

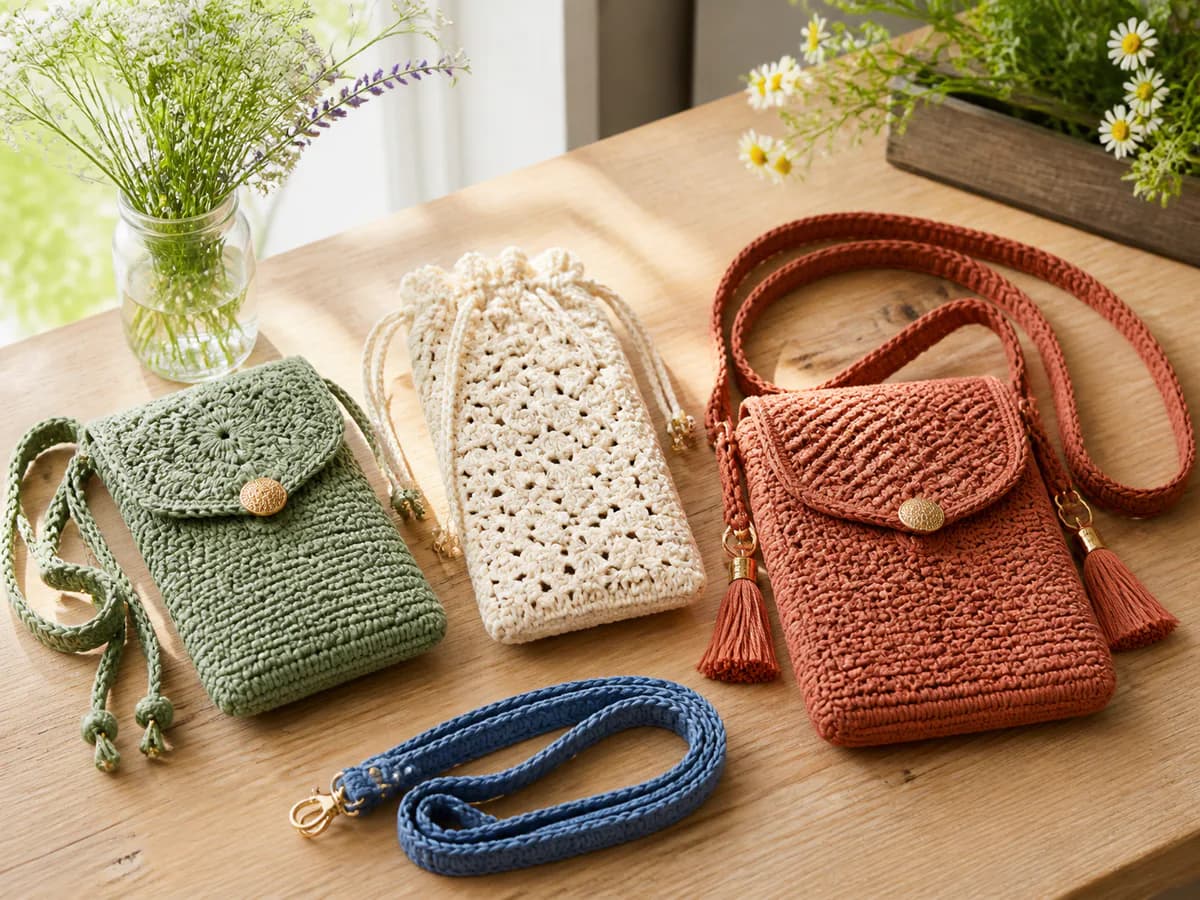
A dense oval-base phone pouch and larger crossbody variation with measured clearance, stable top edges, reinforced tabs, and a strap-testing procedure.
Materials and supplies
- Firm worsted cotton or cotton blend; plan the quantity from your swatch as described below
- 4-5 mm hook
- Locking stitch markers
- Yarn needle and sharp scissors
- Two D-rings with an internal width that accepts the finished crochet tabs
- Optional lining fabric and sewing thread; this version has an open top
Fit, gauge, and yarn planning
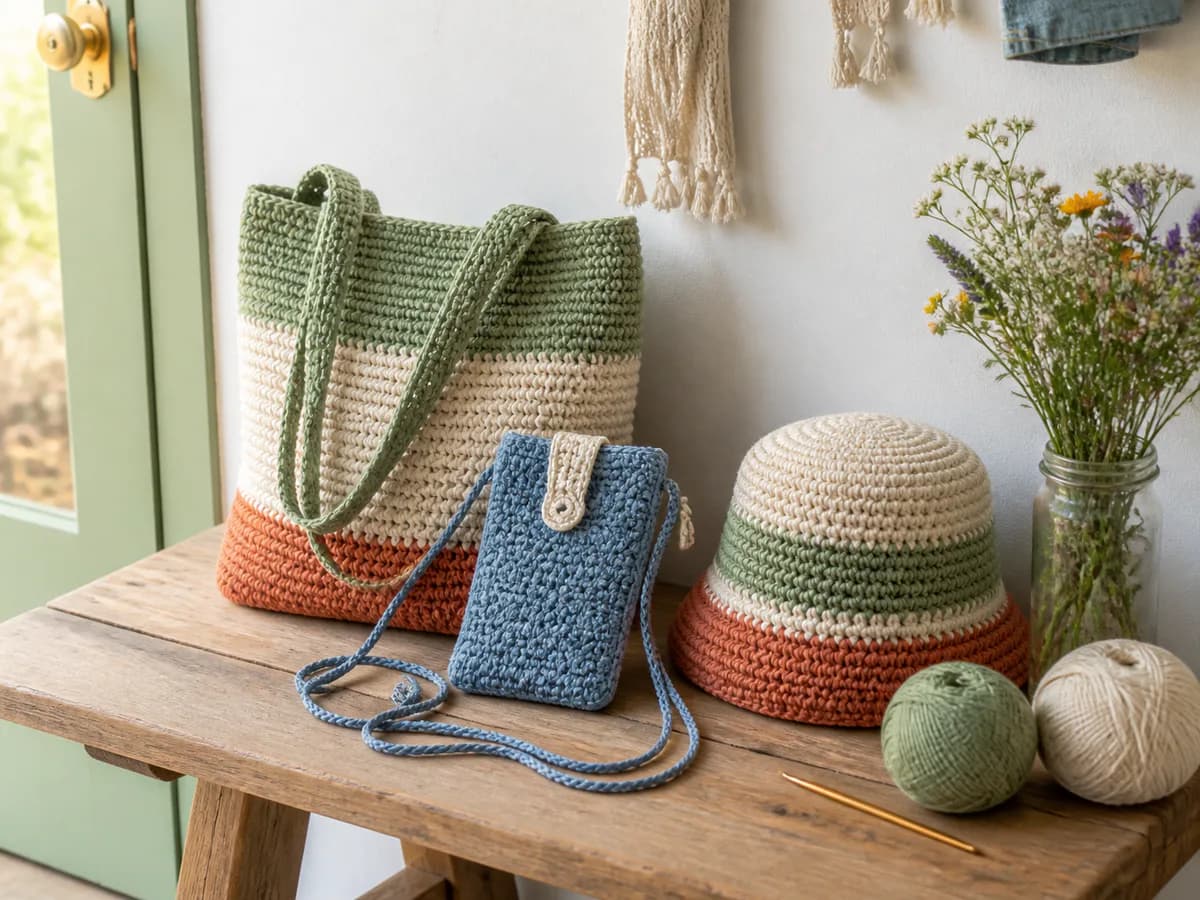
This is an adjustable construction with fixed starting counts, not a measured sample in a specified yarn. There is no verified finished width or sample yardage to quote. The images illustrate the open-top shape; follow the counts and fit checks below for your own version. Flaps, buttons, and drawstring closures are not part of this pattern.
Measure first: record the phone's width, thickness, and height with its case on. After the base and a few body rounds, check that the phone slides in and out without stretching the opening. Test with the intended contents for the larger bag. Do not rely on the starting chain alone to predict the finished width.
Make a gauge swatch: use the intended yarn and hook to work a firm sc fabric. Wash and dry it according to the label, then measure stitches and rows over a central 10 cm area without stretching. The fabric should be flexible but dense enough for the intended contents. If you change the hook for a better fabric, repeat the fit check rather than assuming the original foundation will still fit.
Estimate yarn from your own fabric: weigh a dry swatch and measure its area. Divide its grams by its area in square centimeters to get grams per square centimeter. Multiply by the approximate fabric area of your base, body, and strap; add the tabs and a reserve for joins, tails, and variation. This is a planning estimate, not tested yardage.
For example, a hypothetical 100 cm² swatch weighing 8 g gives 0.08 g/cm². An estimated 1,500 cm² of crochet would use about 120 g before tabs and a reserve. If that yarn's label lists 200 m per 100 g, 120 g represents 240 m. These numbers demonstrate the calculation only; they are not a shopping quantity for either version. Recheck consumption after your base and first body rounds, and keep extra yarn from the same dye lot if possible.
Crochet terms used
The instructions in Crochet Crossbody Bag & Phone Pouch Patterns use US terms: ch (chain), sl st (slip stitch), sc (single crochet), inc (two sc in one stitch), and back-loop sc (work into the back loop only). Counts in parentheses show the stitches expected after that row or round.
Pattern
This dense oval construction makes either a larger crossbody bag or a phone pouch by changing only the foundation length, height, and strap length.
Use joined rounds for the base and body. Work round 1 directly into the foundation chain as written, then join with a sl st to the first actual sc. Begin each later round with ch 1, which does not count, and join to its first sc. Do not turn. Never count the joining slip stitch as an extra stitch. Numbers in parentheses give the phone-pouch version where its counts differ.
Check the phone with its case on against the base and the first few body rounds. These foundations give fixed stitch counts, not a guaranteed fit for every device or yarn. If the width is wrong, use the foundation adjustment below before working the full height.
Base and body
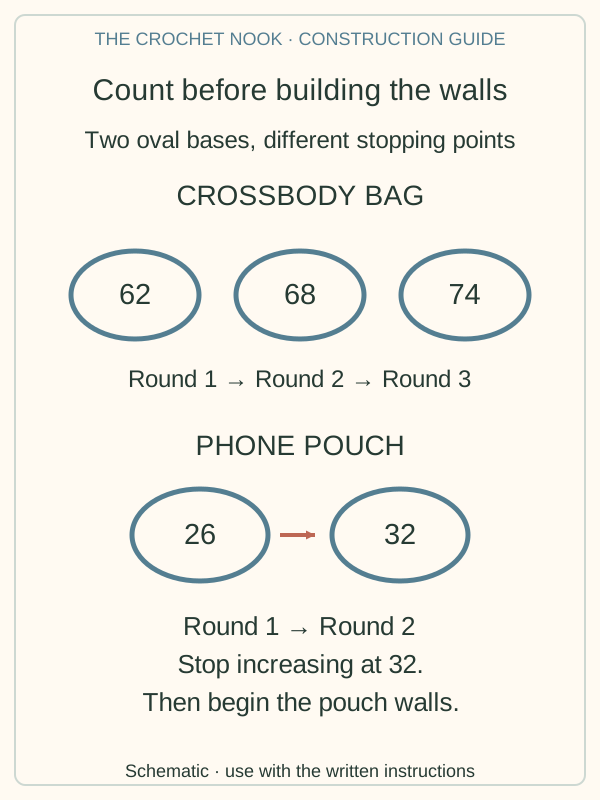
- Chain 31 for the crossbody bag or 13 for the phone pouch. Round 1: Sc in the second chain and next 28 (10) chains, place 3 sc in the last chain, rotate, sc through the next 28 (10) unused loops on the underside, and place 2 sc in the starting chain. (62 bag / 26 pouch)
- Mark the three stitches at each rounded end. The far end is the group of three sc in the last foundation chain. The near end is split across the round boundary: the first sc plus the final two sc, all worked into the second chain from the hook. Round 2: Inc in the first stitch, sc in the next 28 (10), inc in each of the next 3 stitches, sc in the next 28 (10), and inc in each of the final 2 stitches. Join. (68 bag / 32 pouch)
- For the bag only, Round 3: Sc in the first stitch, inc in the next, sc in the next 28, repeat (sc, inc) 3 times, sc in the next 28, then repeat (sc, inc) twice. Join. (74 bag) The phone pouch stops increasing after round 2. Both bases must lie flat.
- Work one back-loop sc in every stitch to turn the base, then continue even in sc. Stop when the bag measures 20-24 cm tall or the pouch is 1-2 cm taller than the actual phone.
- Work two firm sc rounds around the top edge without changing the count. Mark the side centers for reinforced strap tabs.
Adjust the foundation without losing the oval counts
Let N be the total number of foundation chains. In rounds 1 and 2, replace both straight runs of 28 (10) stitches with N minus 3. Keep all the end increases unchanged. Round 1 will have 2 × N stitches; round 2 will have 2 × N + 6. If using the larger bag's third round, replace both runs of 28 there too; its total is 2 × N + 12. The phone version still stops increasing after round 2.
For example, a phone pouch starting with ch 15 uses 12 sc in each straight run, giving 30 stitches after round 1 and 36 after round 2. This adds four body stitches compared with ch 13; it does not guarantee a particular width in centimeters. Work the base and a few body rounds, then try the actual phone before continuing.
Adding foundation chains lengthens the oval; it does not add depth at the rounded ends. If the phone's thickness still will not fit, do not force it into a longer, narrow base. A deeper base requires another shaping plan and a fresh count check.
Handles or strap
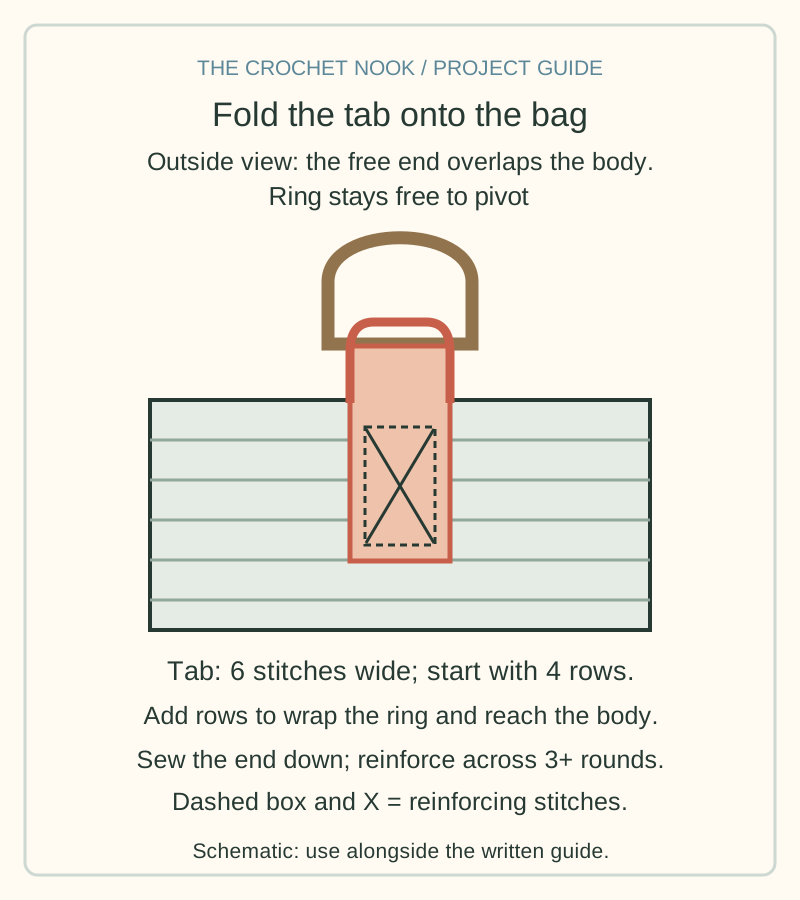
Flatten the bag with the two rounded base ends at the sides. Mark six top-edge stitches centered on each side for the tabs, leaving equal space between the tabs along the front and back.
- Tab row 1: Join yarn in the first of the six marked stitches, ch 1, and sc across those six stitches. Turn. (6)
- Tab rows 2-4: Ch 1, sc in each of the six stitches, and turn. The chain does not count. (6)
- Pass the tab through its D-ring and fold the free edge down against the outside of the bag. Check the fit before sewing. Four rows are a starting length; add rows if the tab cannot fold around your hardware and reach the body without pulling.
- Sew the free edge down, then reinforce the attachment through fabric across at least three body rounds. Keep the metal ring free to pivot. Repeat on the opposite side and compare ring heights.
For the four-stitch sc strap, ch 5. Sc in the second chain from the hook and the next three chains. (4) Turn; ch 1 and sc in all four stitches. Repeat that row, counting four sc each time, until the strap reaches the measured wearing length plus enough overlap to fold through both rings. The turning chain does not count.
Measure across the body along the route the strap will take, allowing for the bag's own height and your preferred position. Before fastening off, test the crochet under the expected contents over a padded surface; it may lengthen under load. Fold each end through a D-ring and sew the overlap firmly across several strap rows. Inspect the tabs, strap seams and ring closures before carrying anything fragile.
A fabric lining can stop keys poking through and help stabilize the bag. For the sewing steps, use the bag lining and hardware guide. This tutorial does not require a magnetic snap or a separate cord technique.
Tips & troubleshooting
The oval ends look uneven
At the near end, round 1 has one stitch at the beginning and two at the end. Those three belong to the same curve; the round boundary does not separate them into different ends.
The pouch is too narrow for the phone
Try the actual phone in the base and first few body rounds, including its usual case. More height will not correct a narrow opening; rework the foundation or change the design before completing the body.
The strap stretches after loading
Measure the strap under the intended contents before deciding its final length. If the fabric keeps stretching, use a sewn fabric backing or a suitable ready-made strap attached through the reinforced tabs.
Frequently Asked Questions
Which count do I use for the phone pouch?
Use the numbers in parentheses where the bag and pouch differ. The pouch base stops at 32 stitches after round 2; only the larger bag continues to 74 stitches.
Do I need to know Romanian cord?
No. The four-stitch single-crochet strap in the Handles or strap section includes its foundation and turning instructions. You can use that option throughout without learning a second cord technique.
May I sell the finished item?
Small-scale sales of finished items from this pattern are allowed with credit to Crochet Crossbody Bag & Phone Pouch Patterns. Do not copy, sell, or republish the written instructions or site images.
Keep exploring
To build on Crochet Crossbody Bag & Phone Pouch Patterns, continue with 20 Boho Crochet Bag Ideas, Best Free Crochet Bag and Accessory Patterns, Crochet Bucket Hat Pattern for Beginners. For a broader route through the site, use the Ultimate Free Crochet Pattern Library.
Essential crochet guides
Maker notes
Questions or finished-project notes?
Share what helped, ask about a step, or leave a thoughtful note for the next maker.
Loading maker notes...