Boho Crochet Plant Hanger Pattern
Crochet a cotton plant hanger with a counted round base, open mesh basket, four suspension cords, pot-fitting checkpoints, and attachment guidance.

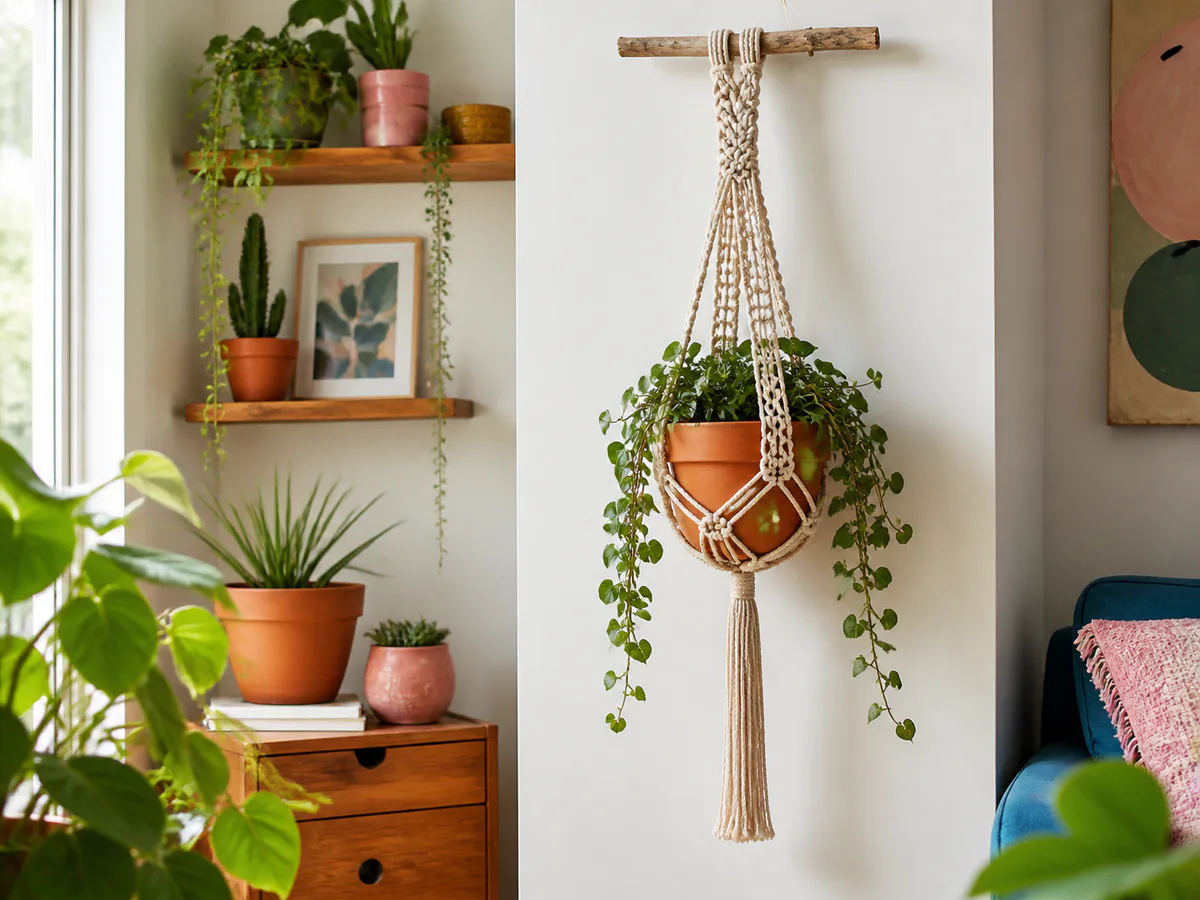
Make a cotton crochet plant hanger with a solid round base, an open mesh basket, and four suspension cords. This version uses a plain hanging ring: it does not include a crocheted ring cover, tassel, or lower gathering knot. Check your pot against the fabric as you work so the basket supports it evenly.
These instructions have been reviewed on paper, but no tested weight capacity or measured finished sample is available. The stitch counts below describe construction, not a safety rating. An initial hanging check cannot establish long-term strength.
Materials and supplies
- Firm worsted-weight cotton yarn suitable for the intended care
- A 4 mm hook as a starting point; adjust after checking your fabric
- Four locking stitch markers, a tape measure, scissors, and a yarn needle
- A smooth closed ring and mounting hardware specified for the intended load and mounting surface
- Your chosen pot or a lightweight empty container of the same dimensions for fitting
Avoid choosing elastic yarn simply because it reaches a particular stitch count. The basket and cords must keep their shape under the intended conditions. Follow the hardware maker's installation instructions; the crochet pattern does not establish the rating of a ceiling hook or wall fixing.
Plan the pot fit and yarn quantity
Measure the pot's base diameter, its circumference where the basket rim will sit, and its height. A tapered pot can be much wider near its rim than at its base. Record those measurements instead of relying only on the size printed on a plant label.
The five base rounds below end at 40 hdc. That count does not guarantee a 12-14 cm base: diameter depends on yarn, hook, and tension. Lay the disk beneath the pot and check that it sits centered without folding or stretching hard. The base should cover the bottom while allowing the fabric to turn up around it.
This is one counted base, not a set of graded pot sizes. If it is clearly too small or too large, test a different yarn/hook combination or use a pattern designed for that pot size. Do not stretch an undersized base to compensate. Changing the number of stitches would also require recalculating the mesh and cord positions.
There is no verified yardage for this version. A weighed swatch can help estimate the basket fabric, but four long cords and sewn attachments need additional yarn. Keep enough of the same yarn for all four cords; do not treat an estimate for the basket alone as the whole project requirement.
Crochet terms and round conventions
US terms: ch = chain, sl st = slip stitch, sc = single crochet, hdc = half double crochet, dc = double crochet, inc = two stitches in one stitch, and ch-1 space = the gap under one chain.
Work the base in joined rounds without turning. For each base round, ch 1 to begin; it does not count. Work into the first actual stitch and join with a sl st to the first hdc. Do not work an extra stitch into the joining slip stitch. The mesh uses a starting ch 3 that does count as its first dc; that different convention is stated in the mesh instructions.
Crochet the round base
- Round 1: Make a magic ring, ch 1, and work 8 hdc into the ring. Close the ring and join. (8)
- Round 2: Ch 1; inc in every stitch and join. (16)
- Round 3: Ch 1; repeat (hdc, inc) 8 times and join. (24)
- Round 4: Ch 1; repeat (2 hdc, inc) 8 times and join. (32)
- Round 5: Ch 1; repeat (3 hdc, inc) 8 times and join. (40)
Each increase round adds eight stitches. In round 5, each repeat consumes four old stitches and makes five new ones: eight repeats use all 32 stitches and produce 40. Count before starting the mesh. Secure the magic-ring tail through the surrounding stitches so the center cannot simply pull open.
Lay the disk flat. A cup or ruffle may indicate a count or tension issue; do not assume placing a pot on it will correct the fabric. Fit the empty pot before continuing.
Build the mesh basket
Mesh round 1: Ch 3, counting as the first dc over the first base stitch. Ch 1 and skip the next base stitch. Repeat (dc in the next stitch, ch 1, skip the next stitch) 19 times. Join with a sl st to the third starting chain. (20 dc and 20 ch-1 spaces)
The first counted dc plus 19 further dc gives 20 posts. Each post pairs with a skipped base stitch, using all 40 base stitches. Do not add another dc at the join.
Later mesh rounds: Sl st into the next ch-1 space. Ch 3 for the first dc, then ch 1. Work (dc in the next ch-1 space, ch 1) 19 times, passing over each intervening dc. Join to the third starting chain. Keep 20 dc and 20 ch-1 spaces in every mesh round.
Try the basket around the empty pot after each round. As a starting fitting point, work until the mesh reaches roughly two-thirds of the pot's height. Check that the pot cannot tip or slide through the opening; the proportion alone does not establish secure fit. The mesh should open evenly without straining individual stitches.
Rim: Ch 1, then work 1 sc in every dc and 1 sc in every ch-1 space. Join to the first sc. (40 sc) The starting ch 1 and joining sl st do not count. Fasten off and weave in the tail through several stitches.
Make four suspension cords
Mark the top edge every 10 stitches: place markers in stitches 1, 11, 21, and 31. This divides the 40-stitch rim into four equal sections.
- Join yarn at the first marker, leaving a tail for reinforcement. Make a chain for the desired cord length. Measure it relaxed rather than pulling it straight under tension.
- Sl st in the second chain from the hook and in every chain back to the basket. If you made N chains, this return has N minus 1 slip stitches. Record the chain count and finished cord length.
- Secure the cord base across three adjacent rim stitches with the working end and reinforce with the starting tail. Catch full stitches, not only one loose strand. Weave the ends back through the surrounding fabric.
- Repeat at the other three markers with the same chain count and tension. Compare the completed cords side by side before attaching the ring; equal chain counts alone do not guarantee equal lengths.
At the free ends, pass each cord through the closed ring and fold it back along itself with an overlap of about 5 cm. Sew through both layers along the overlap with multiple passes, then secure and bury the ends. This describes the join; it does not certify its strength for a particular plant.
Tips & troubleshooting
The pot hangs at an angle
Support the pot from below and inspect the four cord lengths, marker positions, and attachments. Check that the base is centered and the pot is evenly seated. Correct an uneven cord before use rather than adding a decorative knot to disguise the difference.
The mesh pulls into large gaps
Check the pot circumference and the yarn's stretch. If the basket must be forced around the pot, stop and revisit the fit. Extra height will not fix an opening that is too narrow, and a tighter rim does not establish load capacity.
Check placement and condition before every use
Account for the plant, pot, soil, and retained water together. Watering changes the load. Keep the hanger away from beds, seating, walkways, children, pets, and fragile objects; never use it for supporting people or animals.
Check fitting at low height with the pot supported over a padded surface. Stop if cords lengthen unevenly, attachments move, or yarn frays. Do not deliberately overload unknown hardware or treat a short test as proof of safety. If reliable load capacity is needed, use a rated commercial support and keep crochet decorative.
Frequently Asked Questions
Can I use a different pot size?
Fit the counted base and basket to the actual pot. The 40-stitch version is not guaranteed to suit every diameter or shape. Larger or substantially heavier pots require a different design and evidence appropriate to their load.
Does this pattern include a ring cover or tassel?
No. The four crocheted cords attach to a plain closed ring. There is no lower gathering knot because the solid crocheted base supports the bottom of the pot.
How should I water the plant?
Support and remove the pot rather than watering above furniture. Allow drainage before returning it and check the yarn for moisture or wear. Wet soil still adds weight; drainage does not make a pot weightless or establish the hanger's capacity.
Is this a macrame pattern?
No. The basket uses hdc, dc, chains, and sc, while the cords are chains reinforced with slip stitches. It is crocheted rather than made from a sequence of macrame knots.
Keep exploring
For another decorative project, browse the boho crochet wall hanging. Practice counted rounds with the crochet coasters and table decor set, or review common crochet mistakes before troubleshooting a base that cups or waves.
Essential crochet guides
Maker notes
Questions or finished-project notes?
Share what helped, ask about a step, or leave a thoughtful note for the next maker.
Loading maker notes...